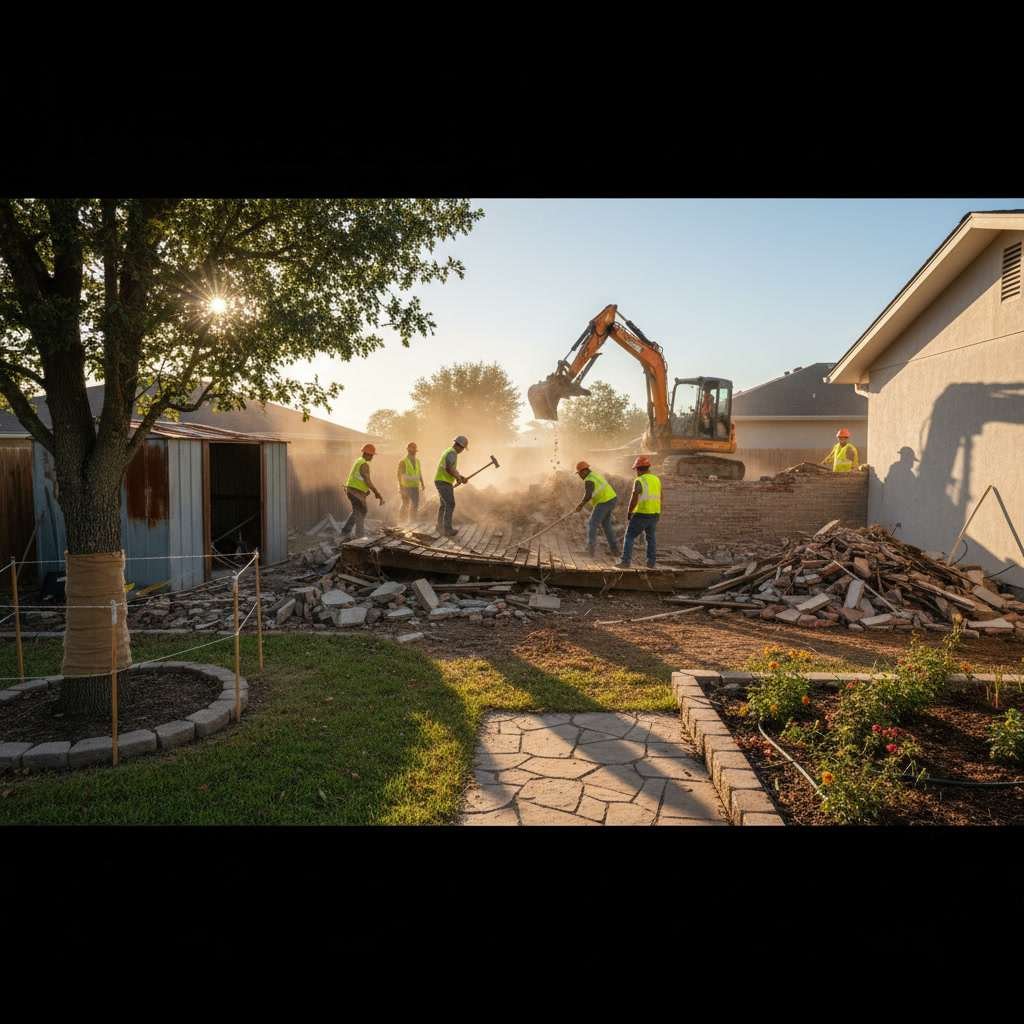
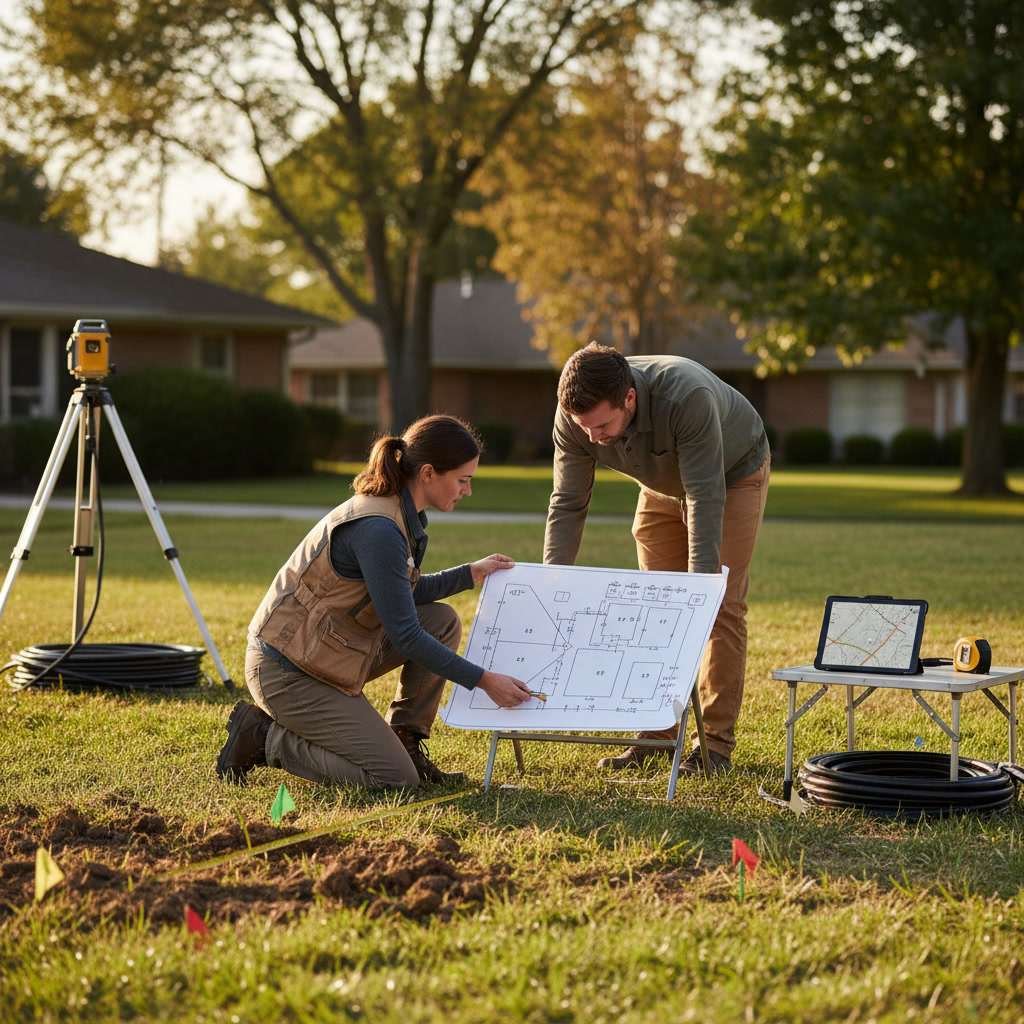
A professional irrigation design consultation begins with a detailed site measurement to map your property’s exact dimensions, slopes, and obstacles, followed by water pressure and soil testing, zone planning based on plant types and sun exposure, and ends with a final layout approval that accounts for coverage gaps and efficiency. The entire process typically takes one to three visits and ensures your system delivers water exactly where needed without waste or dry spots.
The consultation process is far more technical than most property owners realize. A properly designed system accounts for hydraulic capacity, precipitation rates, and soil infiltration to prevent runoff and under-watering. Skipping or rushing this phase often leads to costly repairs, high water bills, and dead zones in your lawn.
Why Site Measurement Is the Foundation of Every Efficient System
Accurate site measurement determines how many zones your property requires, where main lines should run, and which sprinkler head types fit each area. A professional will walk your entire property with a measuring wheel or laser distance tool, recording dimensions down to the foot. They also note elevation changes, because a slope of just three degrees affects water pressure and requires different head spacing.
Without precise measurements, contractors often over-design systems with too many zones or under-design with insufficient coverage. Both mistakes cost money. Over-designed systems waste water and drive up installation costs. Under-designed systems leave brown patches and require add-on repairs within the first season.
How Water Pressure and Flow Rate Testing Shapes Your Design
Static water pressure and dynamic flow rate determine which sprinkler heads your system can support and how many can run simultaneously on one zone. A technician will attach a pressure gauge to an outdoor spigot and record the reading in pounds per square inch (PSI). Most residential properties range from 40 to 80 PSI, but variations exist.
Flow rate is measured by timing how many gallons per minute (GPM) your water source delivers. This number directly limits how many heads you can place on each zone. If your property delivers 12 GPM and each rotor head uses 3 GPM, you can run four heads per zone with no margin for error. Adding a fifth head drops pressure across the entire zone and creates weak spray patterns.
Understanding these numbers prevents the most common irrigation layout mistakes that waste water in residential yards. Many DIY systems fail because homeowners assume their water supply can handle more than it actually delivers.
Soil Testing and Drainage Evaluation Before Layout Planning
Soil type affects how quickly water infiltrates and how long each zone should run. Sandy soils drain fast and require shorter, more frequent watering cycles. Clay soils absorb water slowly and need longer soak times with pauses to prevent runoff. A professional will dig test holes in multiple locations to assess soil composition and observe drainage patterns.
Compacted areas near driveways or high-traffic zones often need special attention. Compaction reduces infiltration rates by up to 70 percent, meaning water pools on the surface instead of reaching roots. In these spots, designers may recommend aeration before installation or adjust watering schedules to allow multiple short cycles instead of one long run.
Drainage problems also come to light during this phase. If your property has low spots where water collects after rain, the designer will account for these areas when planning head placement and runoff management.
Zone Planning Based on Plant Types and Sun Exposure
Professional designers divide your property into zones based on hydrozones, grouping plants with similar water needs together. Turf areas receive different coverage than flower beds, shrubs, or vegetable gardens. Sunny south-facing slopes dry out faster than shaded north-facing sections, so each receives its own zone with independent run times.
A common mistake is mixing spray heads and rotor heads on the same zone. Spray heads apply water at roughly 1.5 inches per hour, while rotors apply 0.5 inches per hour. Running both types together means one area floods while the other stays dry. Proper zone planning keeps precipitation rates consistent within each zone.
If you are planning turf applications and installation, your designer will create separate zones for synthetic and natural grass areas, since synthetic turf requires minimal or no irrigation depending on the product.
Selecting the Right Sprinkler Heads for Each Area in Payson
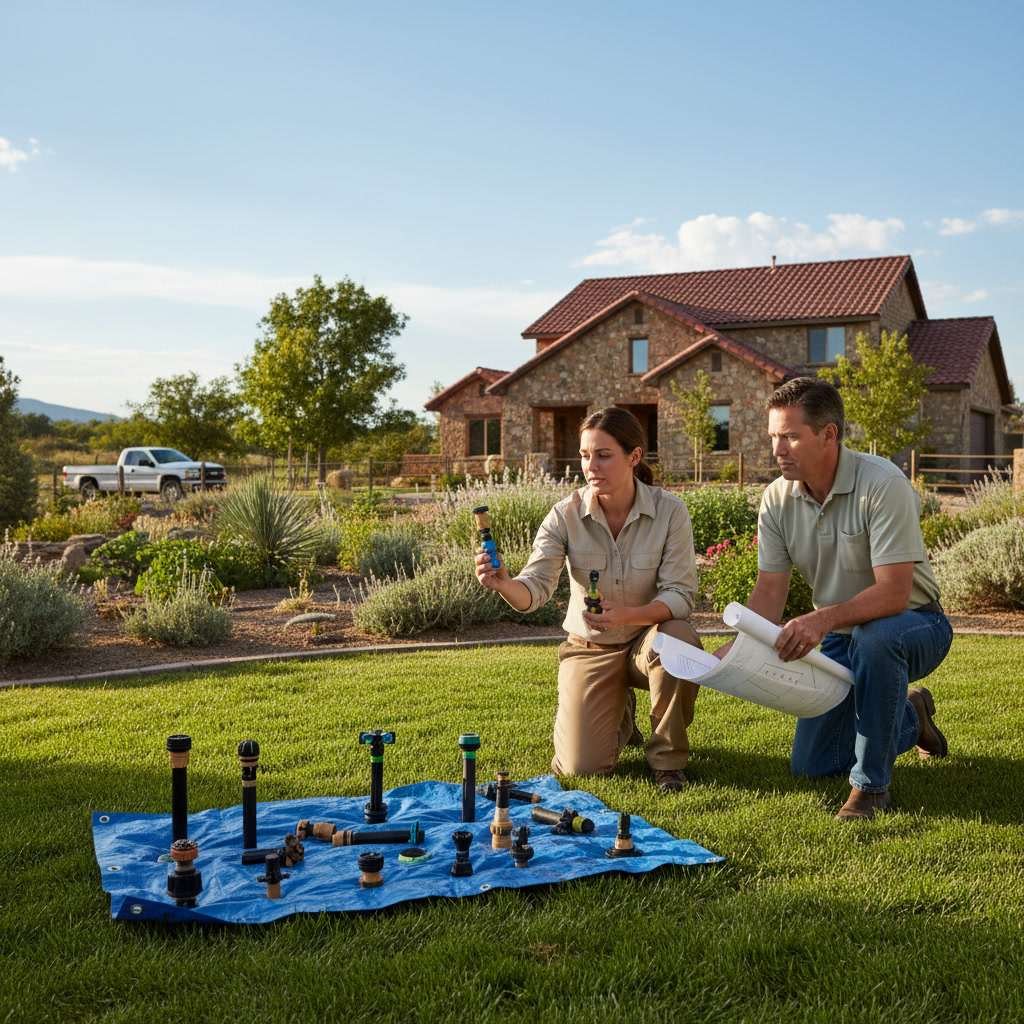
Head selection depends on area size, shape, and water requirements. Spray heads work well for small, narrow spaces like side yards and flower beds, covering radii up to 15 feet. Rotor heads suit larger open areas like back lawns, covering 20 to 40 feet depending on pressure and nozzle size.
In Payson, wind is a factor during spring and early summer. Designers often choose low-angle nozzles or pressure-regulated heads to reduce wind drift and improve efficiency. High-efficiency nozzles can cut water use by 20 to 30 percent compared to standard models, which matters in a region where water conservation is increasingly important.
Drip irrigation is the best choice for flower beds, vegetable gardens, and around trees and shrubs. Drip systems deliver water directly to root zones with minimal evaporation, making them far more efficient than overhead spray. A professional designer will integrate drip lines into the overall layout and assign them to dedicated valve zones.
Controller and Valve Placement for Easy Access and Efficiency
The controller is the brain of your system, and its location matters. Most designers mount controllers in garages or covered outdoor spaces where they stay dry and remain accessible. Smart controllers with weather-based adjustments are becoming standard, automatically skipping watering cycles after rain or adjusting run times based on temperature and humidity.
Valve boxes house the zone valves that control water flow to each section of your property. These boxes should be placed in accessible locations, not buried under decks or hidden behind dense shrubs. Proper valve placement simplifies future maintenance and repairs, saving time and money when adjustments are needed.
Each valve zone is tied to a specific section of your property. A typical residential system in this area uses four to eight zones, depending on lot size and landscaping complexity. Residential landscaping projects with extensive plantings may require additional zones to meet varying water needs.
Main Line and Lateral Line Routing to Avoid Obstacles
Main lines carry water from your water source to each valve, and lateral lines run from valves to individual sprinkler heads. Designers route these lines to avoid tree roots, underground utilities, and hardscape features like patios and walkways. Hitting a root system during installation can damage trees, and cutting into a utility line creates dangerous and expensive problems.
Most professionals use white or blue marking flags to indicate proposed trench paths before digging begins. This step allows property owners to review the layout and request adjustments if needed. Once approved, trenches are dug to depths of six to twelve inches, depending on local frost line requirements and pipe type.
PVC pipe is standard for main and lateral lines in residential systems. It resists corrosion, handles pressure well, and lasts decades when installed correctly. Flexible poly pipe is sometimes used for drip zones or in areas with heavy roots where rigid pipe might crack.
Coverage Testing and Head Adjustment During Installation
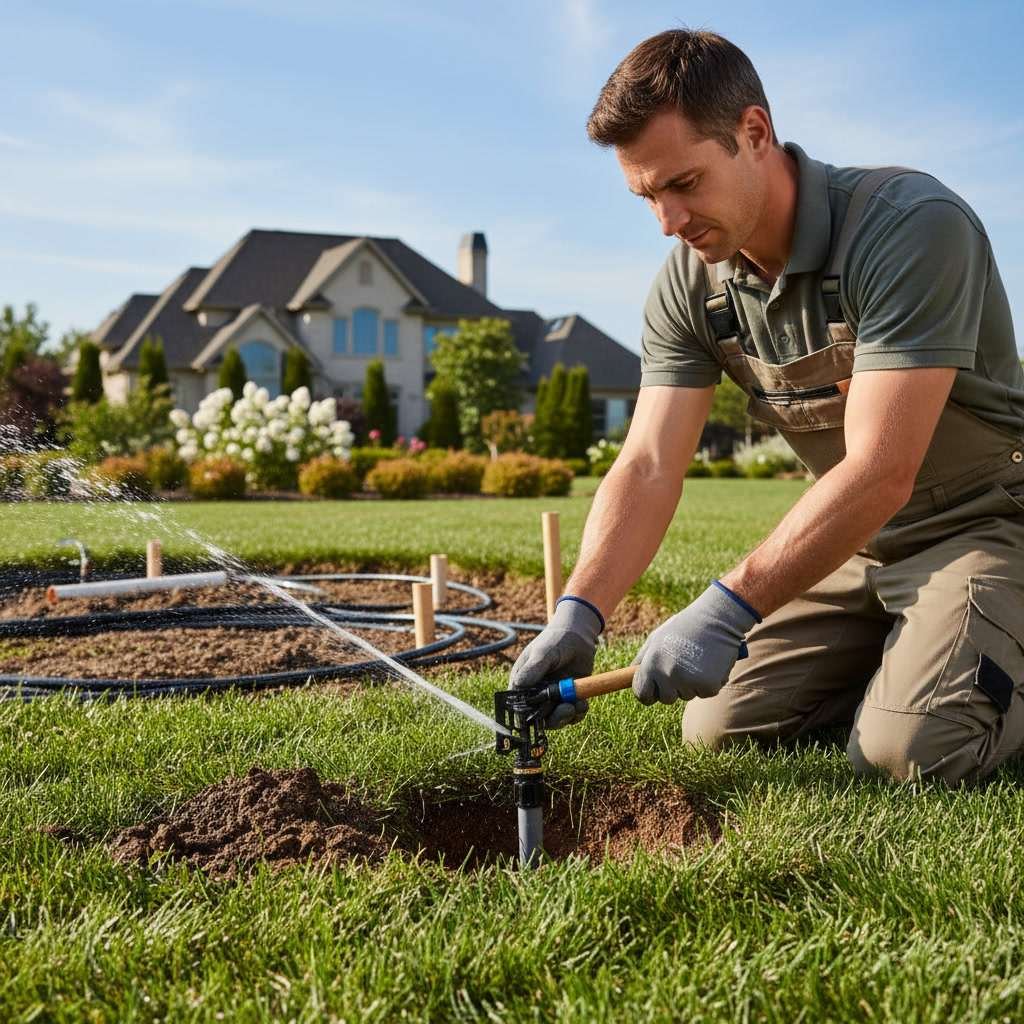
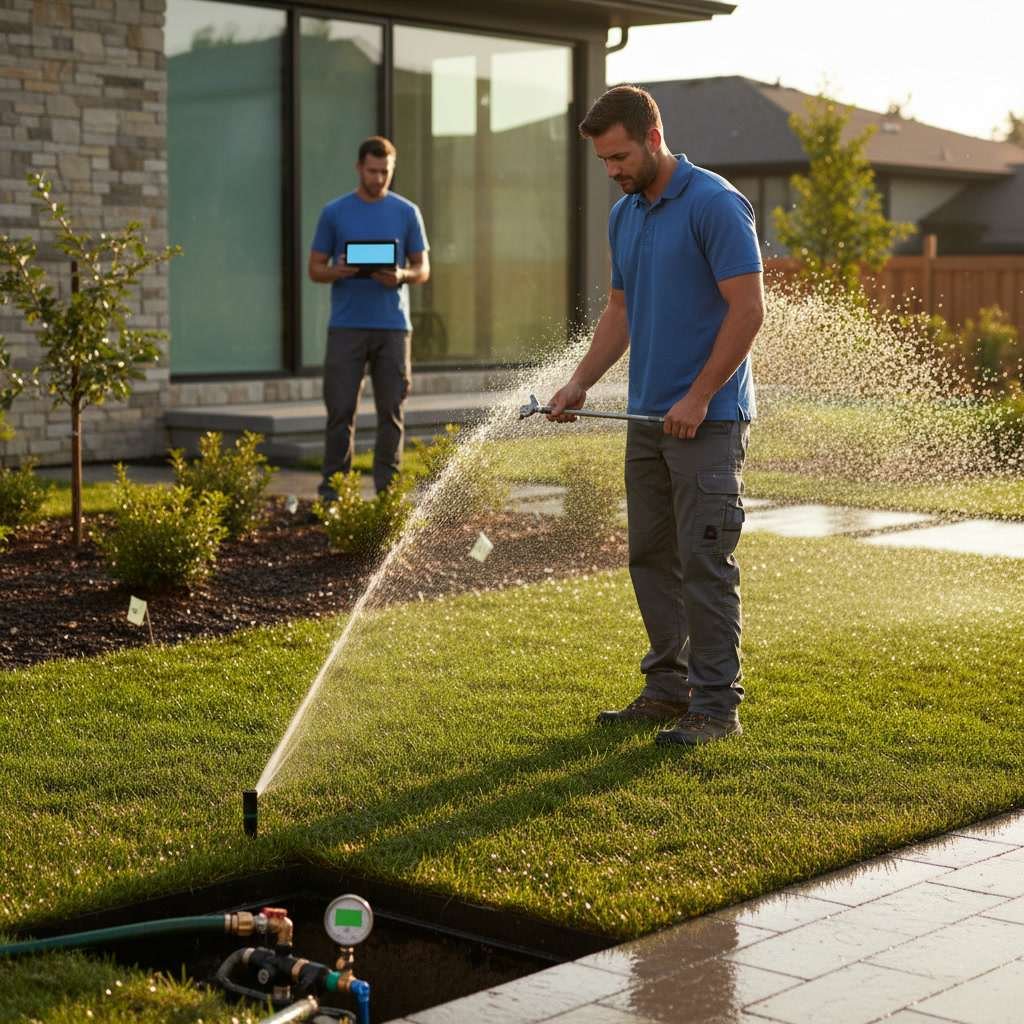
Once the system is installed, technicians run each zone and observe spray patterns. They adjust head angles, swap nozzles if needed, and verify that coverage overlaps properly. Ideally, each sprinkler head reaches the head next to it, ensuring even water distribution with no dry spots.
This phase also reveals any pressure imbalances. If one head sprays weakly while others perform well, the technician will check for clogs, verify pipe sizing, or adjust the zone layout. Pressure-regulating stems can be installed at individual heads to balance output across the zone.
A catch-can test measures how evenly water is distributed. Technicians place small containers at regular intervals within a zone, run the system for 15 minutes, and measure the water collected in each can. Variations greater than 20 percent indicate coverage problems that need correction before final approval.
Final Walkthrough and System Programming
The final walkthrough is your opportunity to see the completed system in action and ask questions. The installer will demonstrate how to operate the controller, adjust run times, and perform basic troubleshooting. You should receive a zone map showing which valve controls which area, along with recommended watering schedules for each season.
Programming the controller correctly makes the difference between a system that conserves water and one that wastes it. Most professionals set initial run times based on current weather and soil moisture, then recommend adjustments as plants establish and seasons change. Smart controllers simplify this process by making adjustments automatically, but even traditional timers work well when programmed thoughtfully.
Many homeowners also ask about winterization during this phase. In Utah, systems must be blown out each fall to prevent freeze damage. Your installer should explain the process and schedule or provide instructions for DIY winterization if you prefer to handle it yourself.
How Long the Consultation and Installation Process Takes
The initial consultation typically takes one to two hours, depending on property size and complexity. Larger lots or properties with challenging terrain may require additional site visits to finalize measurements and address unique conditions. The designer will then spend several days drafting the layout, selecting components, and preparing a proposal.
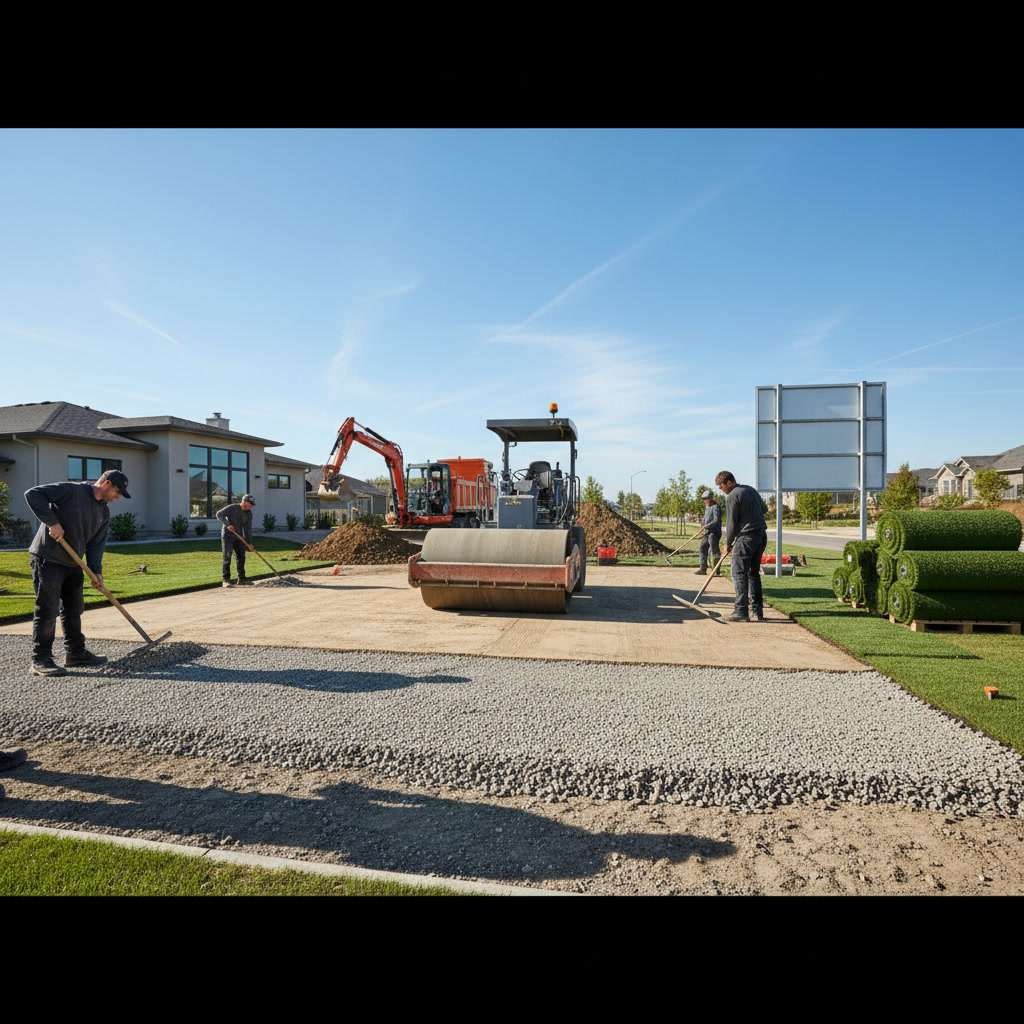
Once you approve the design, installation usually takes two to five days for a typical residential property. Larger projects or those integrated with full yard transformations may take longer, especially if grading, soil amendment, or hardscape work is involved.
Scheduling also depends on season. Spring and early summer are peak times for irrigation installation, so expect longer lead times if you book during those months. Fall installations are often quicker to schedule and still allow time for system testing before winter shutdown.
Ensuring Your Investment Delivers Years of Reliable Performance
A well-designed irrigation system should last 15 to 20 years with routine maintenance. Annual inspections catch small issues before they become expensive repairs. Regularly checking for leaks, adjusting heads as plants grow, and updating controller settings for seasonal changes keep your system running efficiently.
Professional maintenance contracts often include spring startup, mid-season adjustments, and fall winterization. These services ensure your system performs optimally year-round and help you avoid the surprise failures that damage lawns and waste water. For property managers or homeowners who prefer hands-off care, a maintenance agreement offers peace of mind.
The consultation phase sets the stage for everything that follows. Skipping steps or choosing a contractor who rushes through measurements and testing leads to systems that underperform from day one. Taking time to do it right at the start saves money, water, and frustration for years to come.
Building a System That Grows With Your Landscape
A professional irrigation design consultation transforms guesswork into precision. You receive a system tailored to your property’s unique conditions, plant needs, and water supply, backed by accurate measurements and thorough testing. The process ensures even coverage, efficient water use, and a foundation for healthy landscapes that thrive through every season.
Whether you need a new system for a bare lot or an upgrade to replace aging components, the consultation phase is where quality begins. TG Landscaping brings over 15 years of experience to every project, combining technical expertise with a commitment to craftsmanship that started with simple repairs and grew into full-service landscape solutions. If you are ready to discuss your property’s irrigation needs and explore a custom design, reach out at +13856265019 to schedule your consultation.