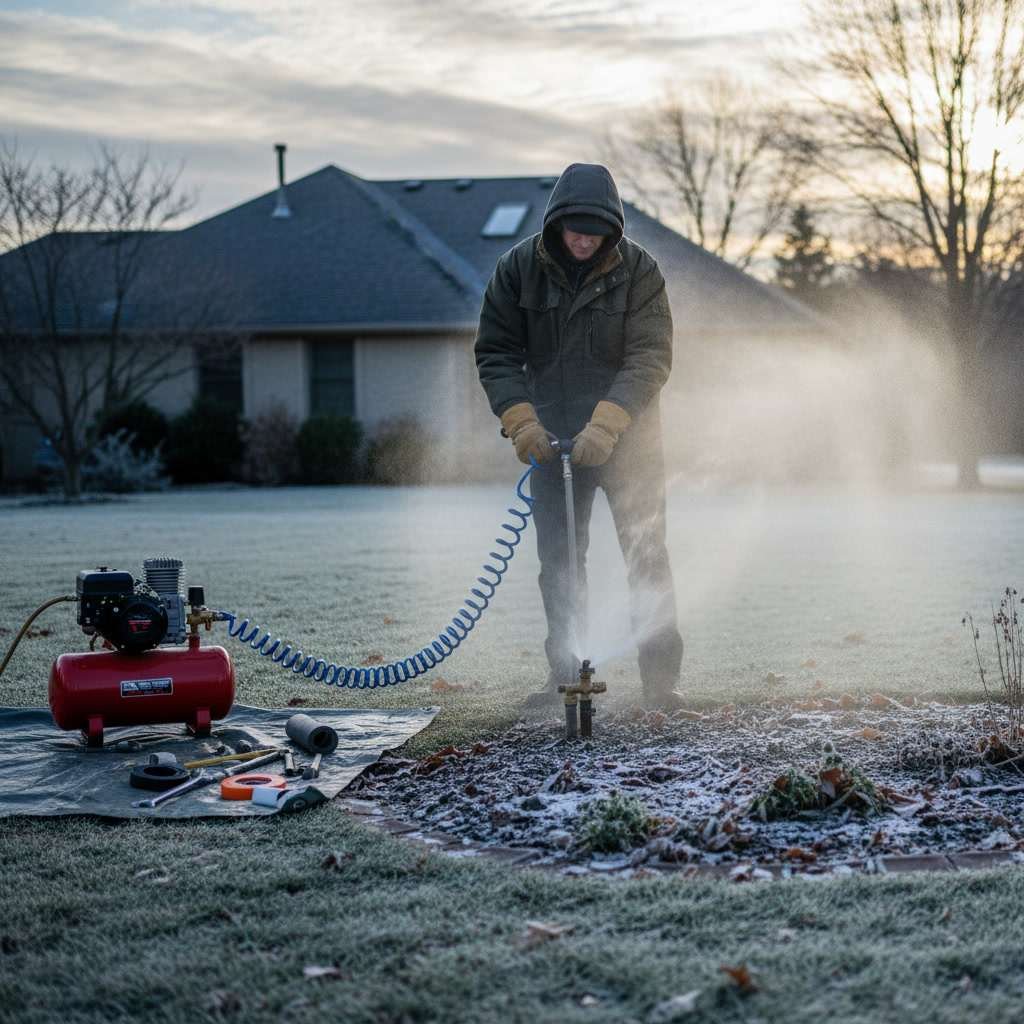
To winterize sprinkler system components properly, you need to drain all water from pipes, valves, and sprinkler heads before the first hard freeze. Any water left in the lines will expand when frozen, cracking pipes and damaging expensive valves and backflow preventers. Most northern Utah homeowners should complete this process by late October or early November, depending on elevation and weather patterns.
A failed winterization can cost hundreds or even thousands in repairs come spring. The good news is that with the right steps, you can protect your entire irrigation setup in just a few hours.
Why Freeze Damage Happens to Irrigation Systems
Water expands roughly nine percent when it freezes. In the confined space of a PVC pipe or brass valve body, that expansion creates enough pressure to crack even thick-walled components. A single split pipe buried 12 inches underground might not reveal itself until you fire up the system in April, at which point you’ll face excavation costs and landscape repair on top of the replacement parts.
Backflow preventers are especially vulnerable. These devices sit above ground and contain multiple chambers and check valves. Even a small amount of trapped water can destroy internal seals and brass fittings overnight when temperatures drop below 28 degrees for more than a few hours.
When to Schedule Winterization in Payson
Timing matters more than most homeowners realize. If you drain your system too early, a warm stretch in late October might leave your lawn struggling. Wait too long, and a surprise freeze can strike before you’re ready.
In Payson and surrounding areas, the safe window typically runs from mid-October through the first week of November. Watch nighttime forecasts closely. Once lows dip into the upper 20s, you need to act within 24 to 48 hours. Elevation plays a role as well. Properties at higher elevations near the canyon benches will freeze earlier than valley-floor homes.
Shut Down Your Controller and Close the Main Valve
Start by switching your irrigation controller to the off or rain mode position. This prevents the system from trying to run a cycle while you’re working. Some controllers have a dedicated winterization setting that keeps your programmed schedule in memory while disabling all zone outputs.
Next, locate your main shut-off valve. This is usually found in a valve box near your water meter or where the irrigation line branches off from your home’s main supply. Turn it clockwise until fully closed. Open the manual drain valve if your system has one. This small valve, often located at the lowest point in the system, allows gravity to pull some water out of the lines.
The Three Methods to Remove Water From Pipes
Three approaches exist for clearing water from irrigation lines: manual drain, automatic drain, and compressed air blowout. Each has specific use cases.
Manual drain valves require you to open each valve by hand at designated low points in the system. Once opened, gravity does the work. This method only works if your installer placed drain valves correctly at every low spot and sloped the pipes appropriately.
Automatic drain valves open themselves whenever system pressure drops below a certain threshold, typically around 10 psi. They’re convenient but can fail over time if debris clogs the valve mechanism. Test them annually to ensure they’re working.
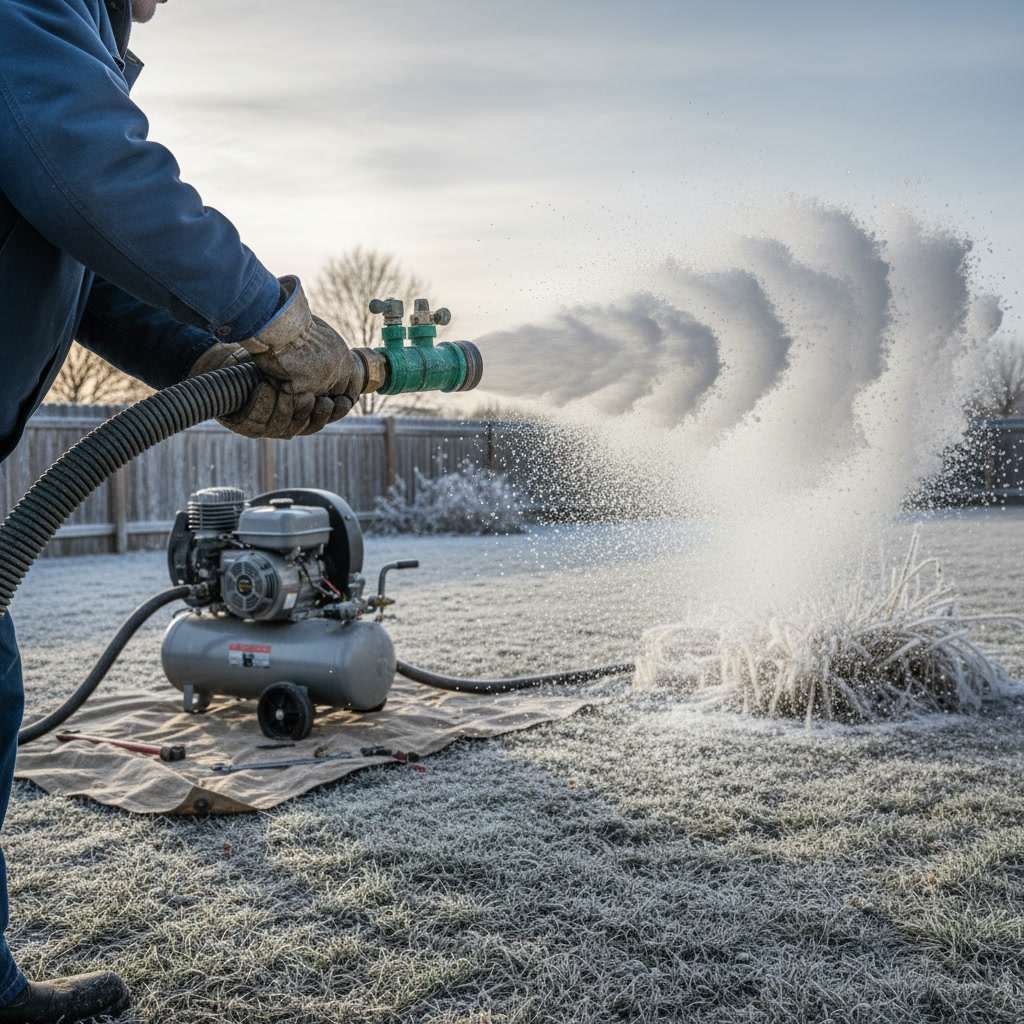
The compressed air blowout method is the most thorough and the industry standard for professional winterization. It uses an air compressor to force every drop of water out of the lines, including trapped pockets that gravity can’t reach. For most residential systems, you need a compressor that delivers 80 to 100 cubic feet per minute at 50 to 80 psi. Higher pressure can damage pipes and fittings, so proper regulation is essential.
Step-by-Step Air Blowout Process
If you’re handling the blowout yourself, rent or borrow a properly sized compressor. Connect it to the system through a blowout adapter installed at a hose bib or the mainline. Never connect directly to a PVC fitting, as the compressor coupler can crack the plastic.
Open one zone at a time using the controller’s manual function. Start with the zone farthest from the compressor or the one at the highest elevation. Watch the sprinkler heads as air moves through the lines. Water will spray out in bursts at first, then gradually turn to mist.
Let each zone run for about two minutes after the spray turns to pure mist. Avoid running any single zone longer than three minutes, as excessive airflow can overheat and damage seals in the valves. Move through every zone systematically, including any drip irrigation lines.
Once all zones are clear, disconnect the compressor and close any open valves. Do not leave the system pressurized with air, as this can stress seals and diaphragms during storage.
Protect Above-Ground Components
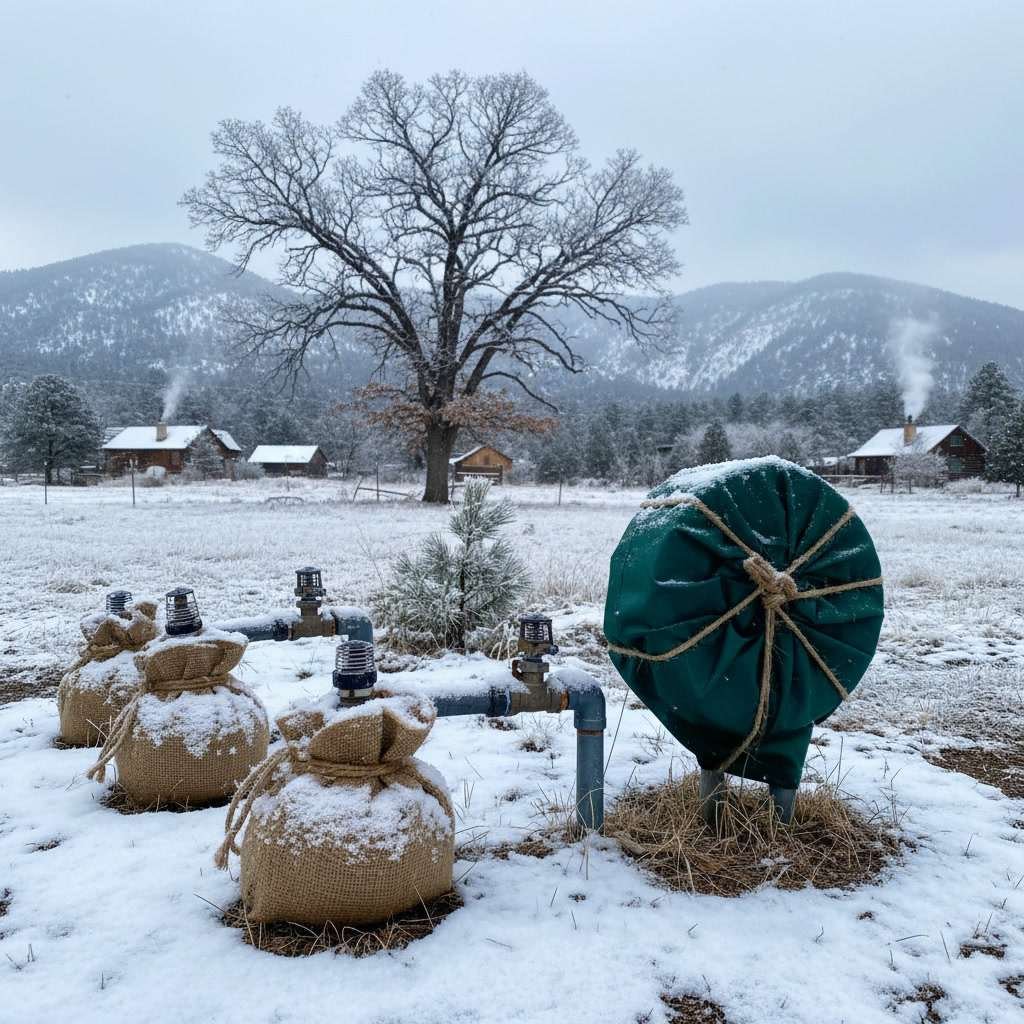
Your backflow preventer needs dedicated attention. Even after blowing out the mainline, water can remain trapped in the device’s chambers. Locate the test cocks and ball valves on the backflow unit. Open all four test cocks by turning them perpendicular to the pipes. Position the two ball valves at 45-degree angles. This allows any remaining water to drain and prevents trapped moisture from freezing inside.
If your backflow sits in an exposed location and winter temperatures regularly drop into the teens, consider wrapping it with an insulated pouch or foam cover designed specifically for backflow devices. Do not use plastic bags or non-breathable materials, as condensation can form inside and cause rust.
For homes with water features connected to the irrigation system, drain those completely as well. Pump housings and fountain plumbing are just as vulnerable as sprinkler lines.
Valve Box and Sprinkler Head Inspection
While you’re winterizing, take a few extra minutes to inspect each valve box. Remove any leaves, mud, or debris that accumulated over the season. Check that lids are intact and sitting properly. A broken lid allows rain and snowmelt to pool around valves, increasing the chance of freeze damage even after the lines are drained.
Walk the property and check each sprinkler head. Look for heads that sit crooked, have cracked nozzles, or show signs of damage from mowers or foot traffic. Make a list of repairs needed so you’re ready when spring arrives. Heads that aren’t draining properly often indicate a clog or a low-spot problem that should be addressed during your next sprinkler repair service.
Controller Adjustments and Battery Backup
Modern irrigation controllers store programming even when powered off, but it’s smart to take a photo of your watering schedule with your phone before shutting down for winter. If you lose settings due to a power surge or dead backup battery, you’ll have a reference when spring setup arrives.
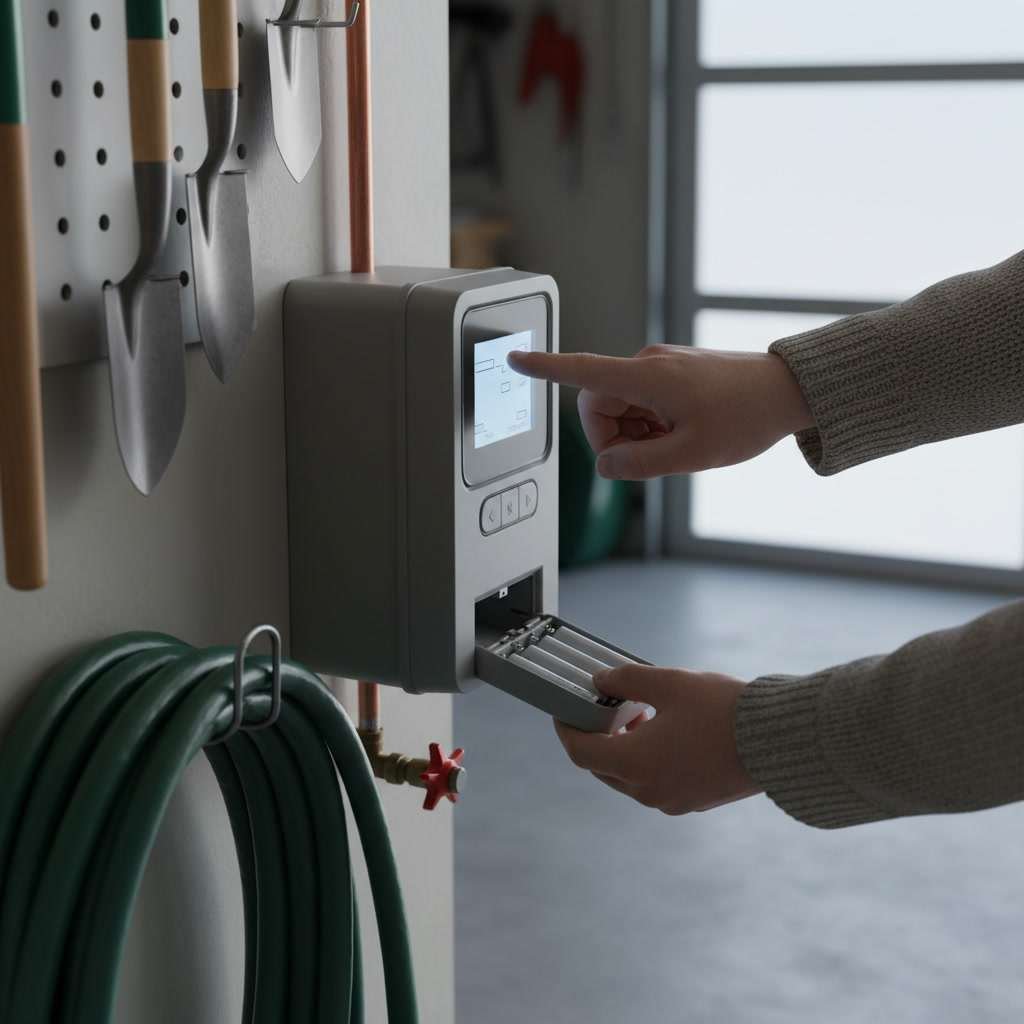
Replace the backup battery if your controller uses one. Most models use a standard nine-volt battery that should be swapped annually. A dead battery means losing all your custom schedules during a power outage or when you disconnect power for the season.
Some homeowners prefer to leave the controller plugged in and set to off mode. Others disconnect power entirely to avoid any risk of an accidental activation during winter. Either approach works, but if you disconnect, label the breaker or outlet so you remember where to restore power in spring.
Common Mistakes That Lead to Spring Repairs
The most expensive winterization mistake is assuming manual or automatic drain valves did their job without verification. These systems fail more often than homeowners expect, especially in systems older than ten years. The small spring inside an automatic drain valve weakens over time, and a valve that worked last year might stick closed this season.
Another common error is forgetting about auxiliary lines. Many properties have a separate drip zone for gardens or flower beds, a line that feeds an outdoor kitchen, or a stub-out for a future expansion. These lines hold water too, and they’re easy to overlook during a standard zone-by-zone blowout.
Running zones for too long during air blowout generates heat that can warp rubber diaphragms inside valves. Professional technicians monitor each zone carefully and never exceed safe run times. Overzealous DIY efforts sometimes cause more damage than they prevent.
For properties with complex systems or irrigation layout and design features like multiple pressure zones or booster pumps, a professional service ensures nothing gets missed.
What Happens If You Skip Winterization
Skipping this process is a gamble that rarely pays off. Utah winters are unpredictable, but sustained freezes are inevitable. When pipes burst underground, the leak often goes undetected until spring startup. By then, hundreds of gallons may have drained into the soil, eroding landscape features and undermining hardscape structures.
Valve replacement is another common consequence. A cracked valve body means excavating the valve box, replacing the entire valve assembly, and reconnecting wiring. For a system with six to eight zones, that can quickly add up to a four-figure repair bill. Backflow preventer replacement alone can run several hundred dollars before labor.
Insurance rarely covers freeze damage to irrigation systems, as it’s considered preventable maintenance. The cost of a professional winterization service is a fraction of even a single major repair.
Homeowners who’ve dealt with common zone and valve problems know that prevention is always cheaper than repair.
Protecting Your Investment Through Winter and Beyond
An irrigation system represents a significant investment in your property’s health and appearance. Proper winterization extends the lifespan of every component, from the controller to the smallest spray nozzle. When spring arrives, a well-maintained system fires up without issue, giving your lawn and landscape the water they need exactly when they need it.
Taking these steps each fall protects not just the hardware but also the time and money you’ve invested in your outdoor spaces. Whether you handle the work yourself or bring in a professional, completing the process before the first hard freeze is the single most important off-season task for any irrigation owner.
If you’re managing a larger property or need help with residential landscaping that includes multiple irrigation zones, professional support ensures nothing falls through the cracks.
Get Professional Help Before the Freeze Hits
A thorough winterization takes knowledge, the right equipment, and attention to detail. Missing even one zone or leaving water trapped in a valve box can mean expensive repairs when temperatures warm up. TG Landscaping has handled irrigation systems across northern Utah for over 15 years, and we know exactly how to prepare your setup for the coldest months.
Whether you need a complete system blowout, valve inspection, or help identifying vulnerabilities before winter, our team is ready to help. Reach out at +13856265019 or visit our contact page to schedule service before the next freeze arrives.