A professional turf installation process involves careful site preparation, precise base grading, proper drainage setup, and meticulous rolling to create a surface that looks great and performs well for 15 to 20 years. Each phase builds on the last, ensuring your synthetic lawn drains properly, stays wrinkle-free, and feels natural underfoot. Skipping or rushing any step can lead to pooling water, uneven surfaces, or premature wear.
Why Proper Installation Determines Long-Term Turf Performance
The difference between synthetic grass that lasts two decades and turf that fails in five years comes down to what happens beneath the surface. A stable, well-drained base prevents settling, wrinkling, and drainage problems. Without proper compaction and grading, water pools in low spots, infill migrates, and seams separate. Professional installers measure slopes to one percent grade, ensuring water flows away from foundations and walkways.
Base preparation accounts for roughly 70 percent of the total installation time. Cutting corners here means visible problems within months. When done correctly, the turf stays level, drains quickly after storms, and maintains a consistent appearance year-round.
Initial Site Assessment and Measurement
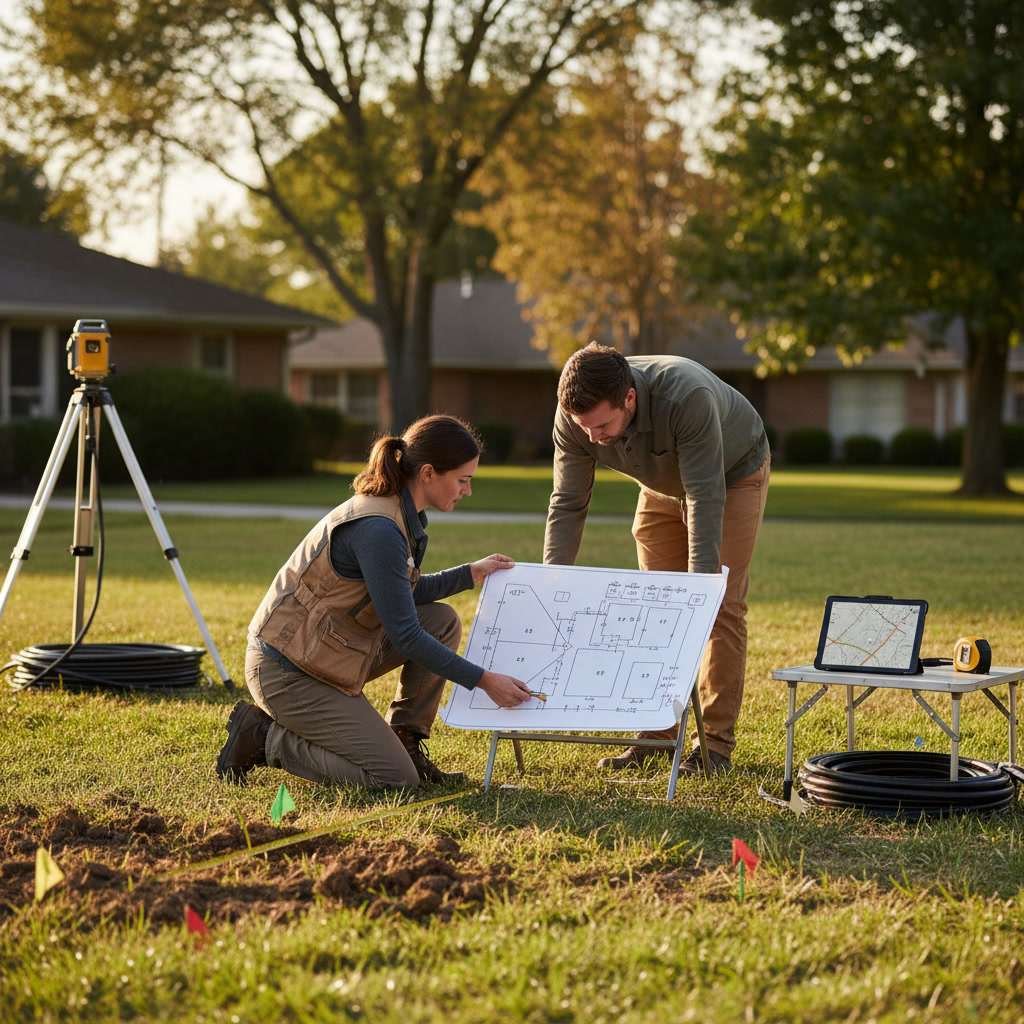
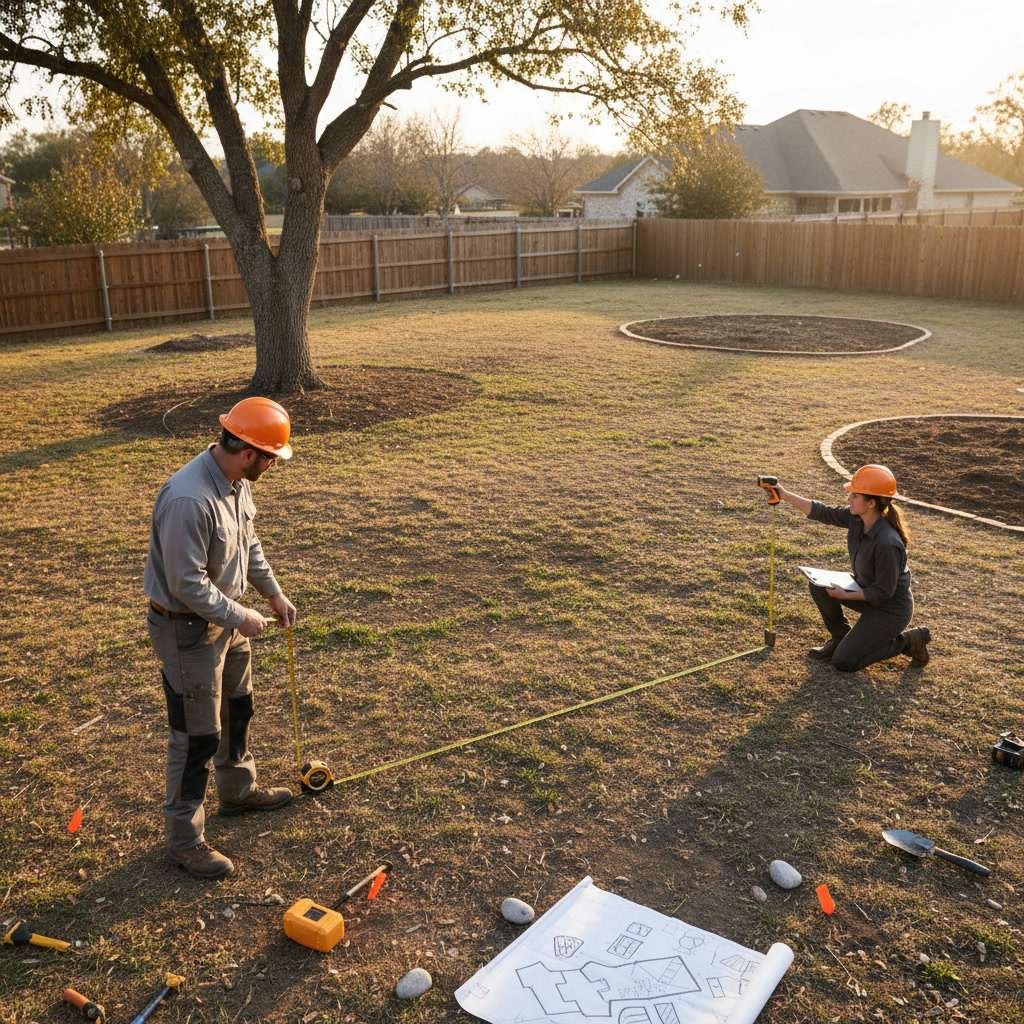
Before any excavation begins, installers walk the site to identify obstacles, irrigation lines, utility markers, and drainage patterns. They measure the installation area to calculate material quantities, including base rock, weed barrier, turf rolls, and infill. Photos document existing conditions, especially areas with poor drainage or uneven grades.
This assessment reveals whether the site needs additional drainage solutions, such as French drains or catch basins. Installers also note sun exposure, traffic patterns, and adjacent hardscape features that influence turf type selection and seam placement. Accurate measurements prevent material shortages mid-project and ensure seams fall in low-traffic areas.
Demolition and Existing Material Removal
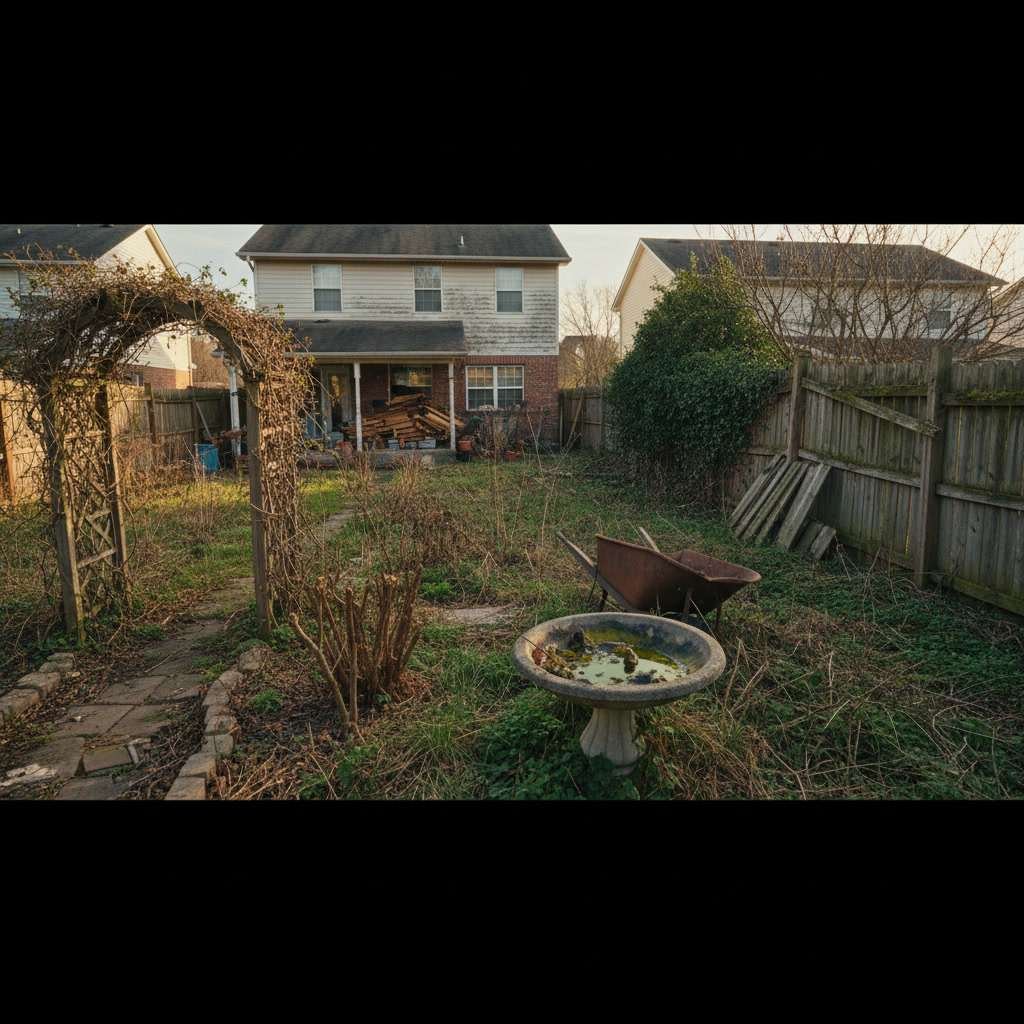
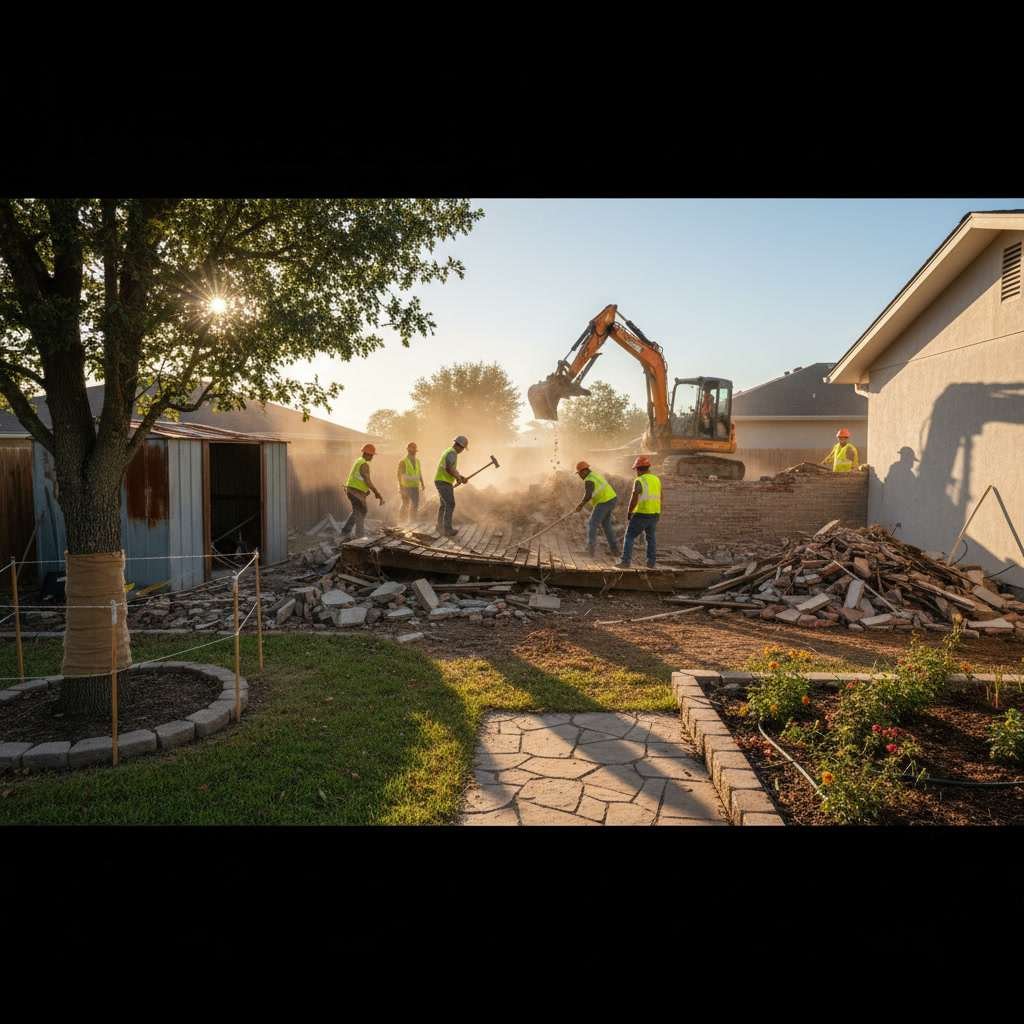
Removing natural grass and organic material is the first physical step. Installers typically excavate three to four inches of existing soil to accommodate the base rock and turf layers. Sod cutters or mini excavators strip away grass, roots, and topsoil, which are hauled off-site or repurposed elsewhere on the property.
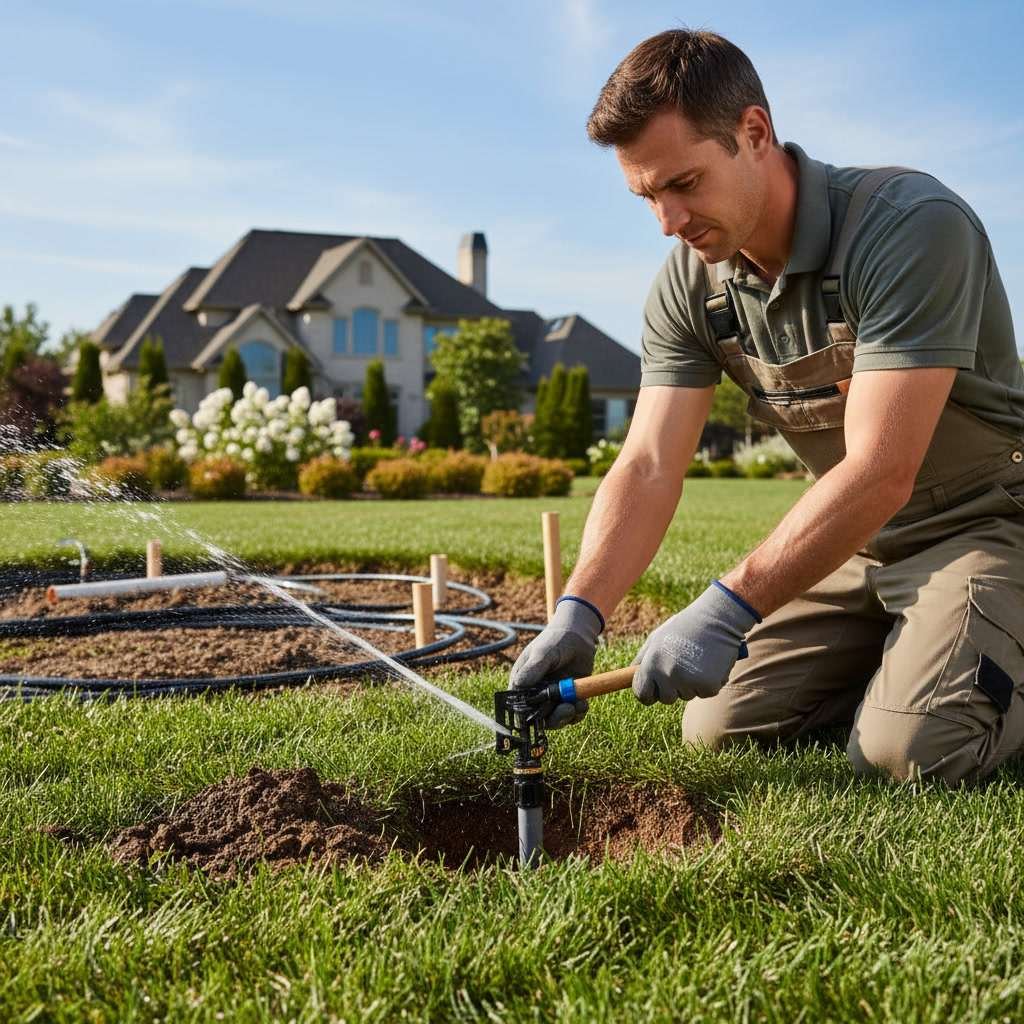
Any existing irrigation must be capped or rerouted. Sprinkler heads are removed, and lateral lines are either relocated or abandoned in place if no longer needed. This phase also addresses tree roots, rocks, or debris that could create bumps or drainage problems. A clean, debris-free excavation area is essential before base material arrives.
Base Rock Selection and Installation in Payson
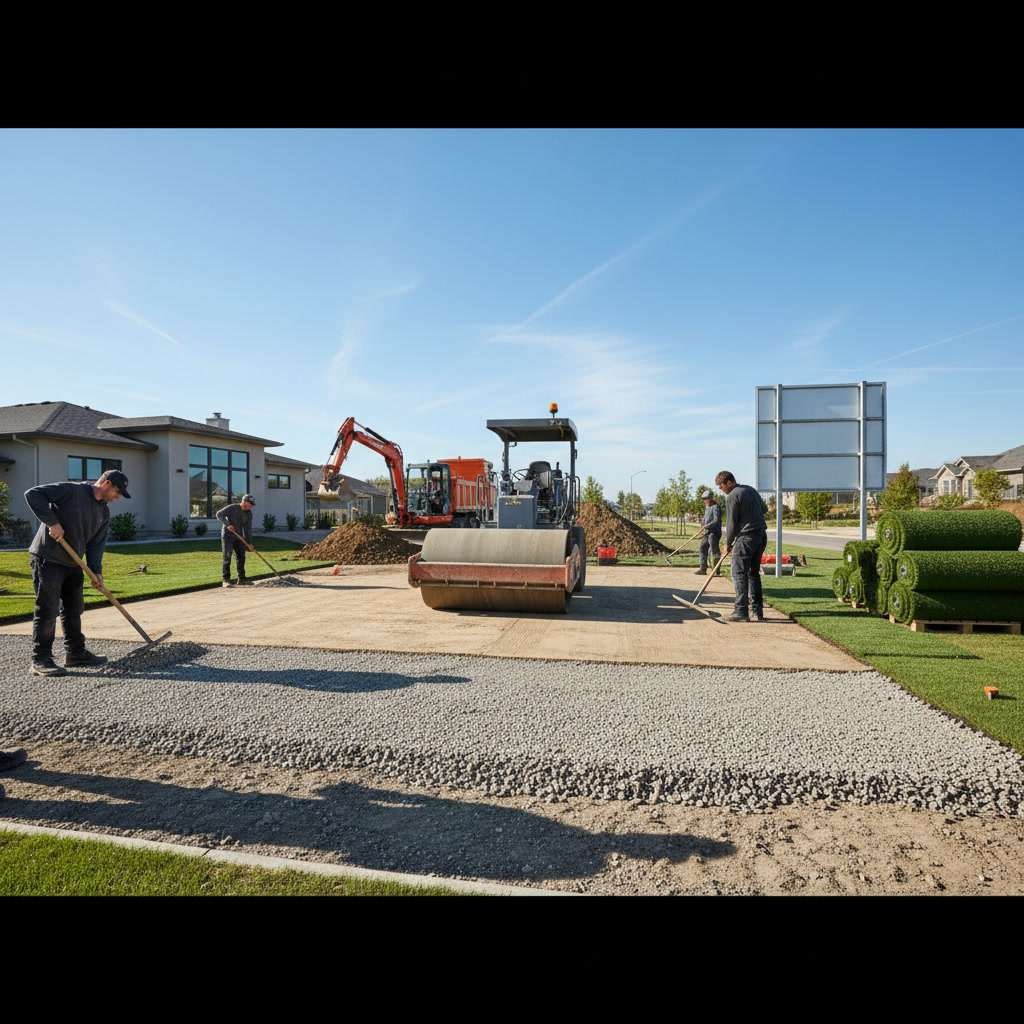
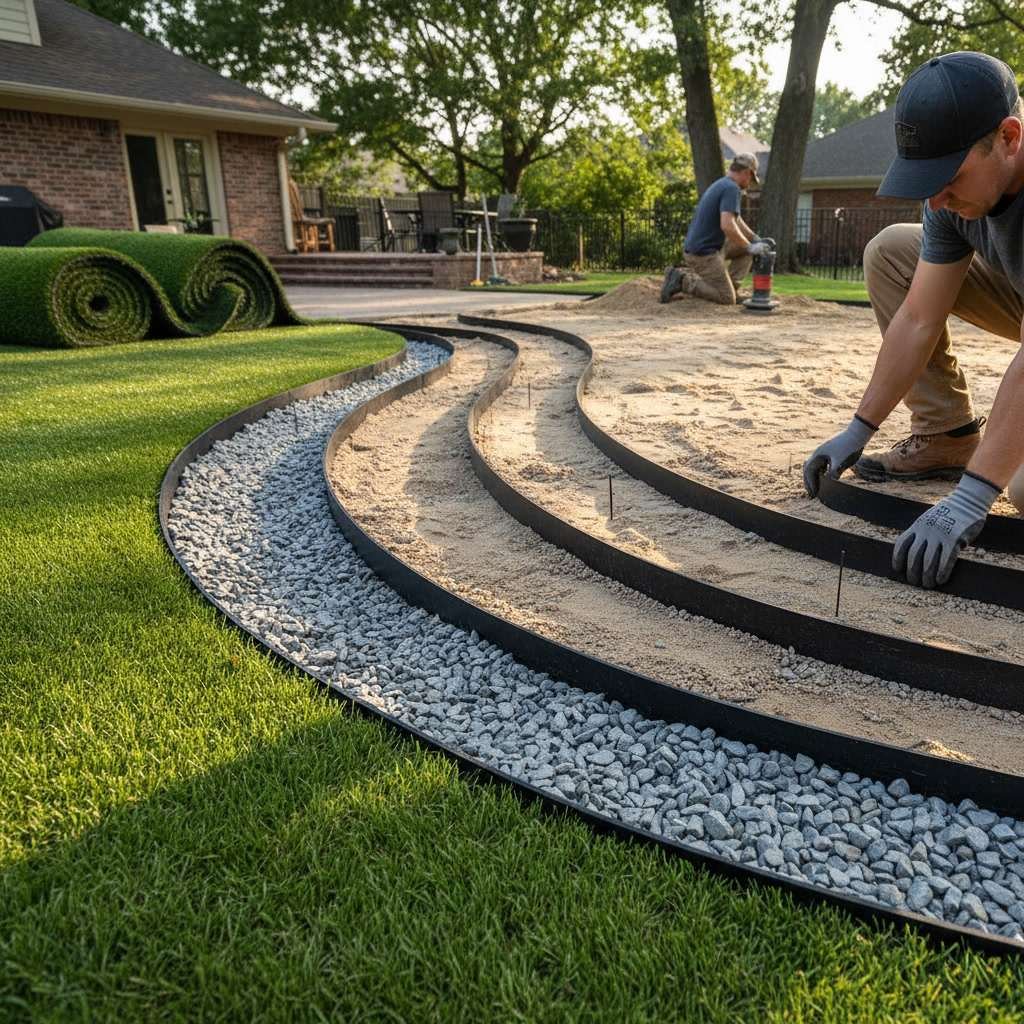
Most professional installations use crushed granite or decomposed granite for the base layer, typically three to four inches deep after compaction. This material drains quickly, compacts solidly, and resists shifting. The rock is spread evenly across the excavated area, then laser-leveled or screeded to match the planned grade.
In Payson and surrounding areas, local soil conditions often include heavy clay that holds water. A well-designed base allows moisture to drain through the turf backing, into the rock layer, and away from the installation area. Installers create a minimum one percent slope away from structures to prevent water from pooling near foundations.
After spreading, the base is compacted using a plate compactor or roller. Multiple passes ensure the rock locks together into a stable surface. Proper compaction prevents settling, which causes low spots and drainage issues months after installation. The compacted base should feel firm underfoot, with minimal give when walked on.
Drainage Solutions and Edge Restraints
For areas with poor natural drainage, installers add perforated drain pipes beneath the base rock, directing water to daylight or storm drains. These pipes sit on a gravel bed and are covered with additional base material. Without adequate drainage, water can pool on top of the turf backing, creating slippery spots and encouraging mold growth.
Edge restraints, such as bender board or steel edging, are installed around the perimeter to hold turf in place and prevent edges from lifting. These restraints are secured with landscape spikes every 18 to 24 inches. Proper edging also creates clean transitions between turf and hardscape, flower beds, or natural areas.
Weed Barrier and Protective Layers
A heavy-duty weed barrier fabric is laid over the compacted base to prevent weed growth through the turf. Professional-grade barriers block light and roots while allowing water to drain freely. The fabric is secured with landscape staples every few feet and overlapped at seams by at least six inches to prevent gaps.
Some installations include a shock-absorption pad between the weed barrier and turf, especially in play areas or sports applications. These pads cushion falls and add a softer feel underfoot. However, residential lawns typically skip this layer to keep costs reasonable while still delivering a comfortable surface.
Turf Roll Layout and Seam Placement
Turf arrives in rolls 12 to 15 feet wide. Installers unroll each piece, positioning seams in low-traffic areas and aligning the blade direction so all sections face the same way. Mismatched blade direction creates visible striping and an unnatural appearance. Turf is left to relax for 30 to 60 minutes, allowing factory creases to flatten before cutting and securing.
Seams are joined using either adhesive tape or glue, depending on the turf backing type. The turf edges are trimmed precisely to butt together without gaps or overlaps. A poorly executed seam will separate under foot traffic or temperature changes, creating trip hazards and visible lines. Professional installers pull seams tight and apply uniform pressure while the adhesive cures.
For complex shapes or curves, installers cut custom pieces and use smaller sections to minimize waste. Precision cutting around trees, flower beds, and hardscape requires sharp tools and careful measurement. Each cut edge is secured with nails or staples to prevent lifting.
Securing the Turf and Perimeter Nailing
Once seams are set, the turf is secured around the perimeter using galvanized nails or landscape staples every six to eight inches. These fasteners are driven flush with the backing to avoid creating bumps or raised spots. Interior areas are also nailed every few feet to prevent shifting, especially in high-traffic zones.
Turf stretched too tight will pucker or tear when temperatures drop, while loose turf develops wrinkles and waves. Installers adjust tension as they nail, pulling just enough to remove slack without overstretching. This balance requires experience and attention to temperature, since synthetic grass expands and contracts with heat.
Infill Application and Distribution
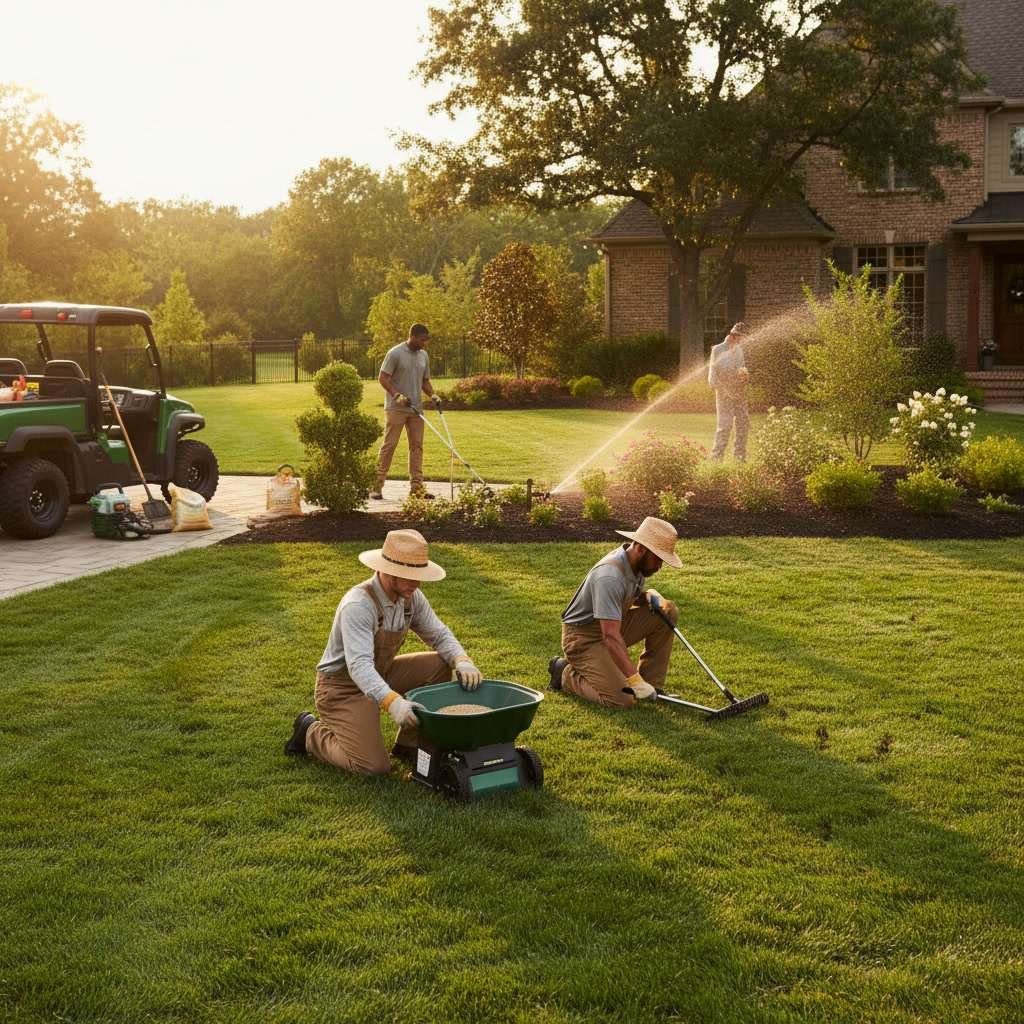
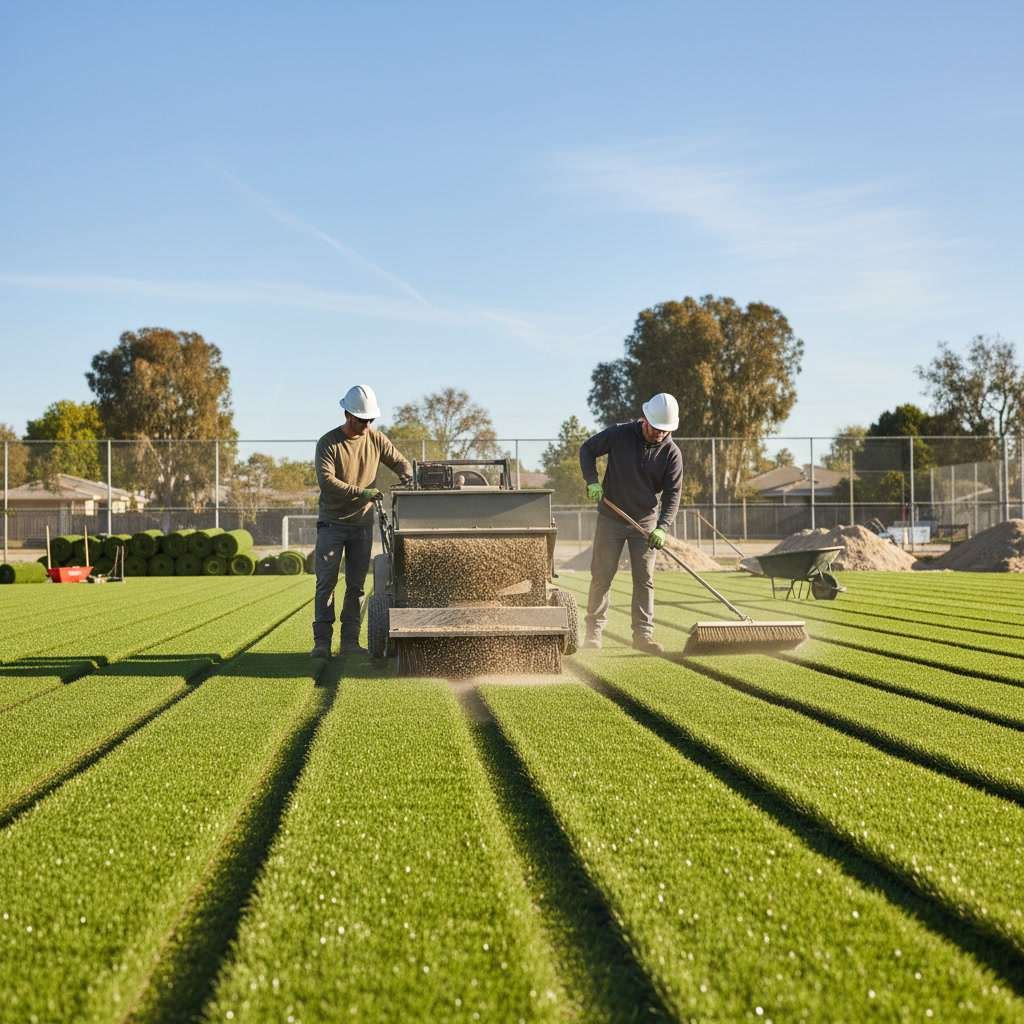
Infill material, typically silica sand or coated granules, is spread evenly across the turf surface to weigh down the backing, support the blades, and create a natural feel. Installers apply infill in multiple passes, using drop spreaders to ensure even coverage. Most residential turf requires one to two pounds of infill per square foot.
After spreading, the infill is brushed into the turf using power brooms or stiff-bristled hand brooms. This step works the material down to the base of the blades, where it stabilizes the turf and prevents matting. Proper infill distribution keeps blades upright and maintains the lawn’s appearance over time.
Final Rolling and Surface Inspection
A weighted roller is passed over the entire installation, pressing the turf into the base and ensuring consistent contact. Rolling also helps infill settle evenly and reveals any low spots or irregularities that need attention. Installers inspect seams, edges, and high-traffic areas, making adjustments as needed.
The final inspection checks for proper drainage by running water over the surface and observing flow patterns. Water should drain quickly without pooling. Blade direction is verified, edges are trimmed clean, and any visible nails or staples are adjusted. This attention to detail separates professional installations from rushed or inexperienced work.
Post-Installation Settling and Care
New turf installations benefit from a 24 to 48 hour settling period before heavy use. During this time, infill continues to work into the backing, and any minor wrinkles relax. Homeowners are advised to brush the turf weekly for the first month to help blades stand upright and infill distribute evenly.
Regular maintenance includes removing debris, rinsing pet areas, and brushing high-traffic zones to prevent matting. Unlike natural lawn maintenance, synthetic turf requires no mowing, fertilizing, or watering. An occasional rinse and brush keep it looking fresh for years.
Understanding the requirements before starting your project helps set realistic expectations and ensures your property is ready for installation.
Investing in Quality Installation Pays Long-Term Dividends
A professional turf installation delivers a low-maintenance, water-saving lawn that performs well through Utah’s temperature extremes and seasonal shifts. Proper base preparation, drainage design, and meticulous finishing work ensure your synthetic lawn looks great and functions reliably for decades. Rushing the process or skipping steps leads to costly repairs and shortened turf life.
Whether you’re upgrading a residential yard or planning a complete outdoor transformation, choosing experienced installers who follow proven methods protects your investment and delivers results you’ll enjoy every day.
TG Landscaping brings over 15 years of experience to every turf installation, combining concrete expertise with comprehensive landscaping services. If you’re ready to explore synthetic turf for your property, reach out at +13856265019 to schedule a site assessment and discuss your project goals.