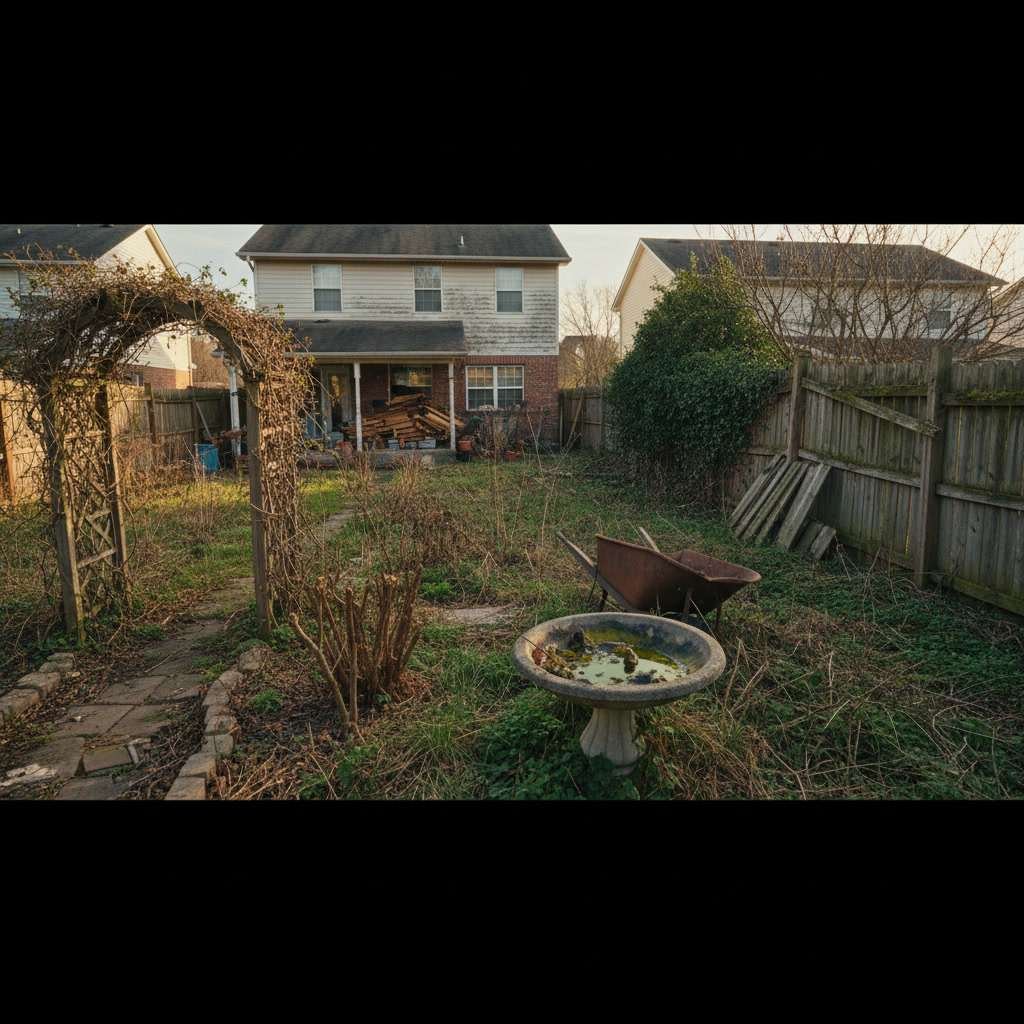
A yard transformation demolition is the critical first phase where contractors remove unwanted structures, clear vegetation, and prepare the site for new construction while identifying features worth preserving. Professional crews document existing utilities, evaluate salvageable materials like stone or pavers, and methodically strip the yard down to a clean slate. The process typically takes one to three days depending on yard size and complexity, with careful attention paid to irrigation lines, underground utilities, and mature trees that can remain part of the new design.
Before any equipment rolls onto your property, the demolition phase determines whether your project stays on schedule and within budget. Understanding what happens during this stage helps you make informed decisions about which features to keep, what materials can be reused, and how the removal process protects your home and neighboring properties.
Why Site Assessment Comes Before Any Demolition Work
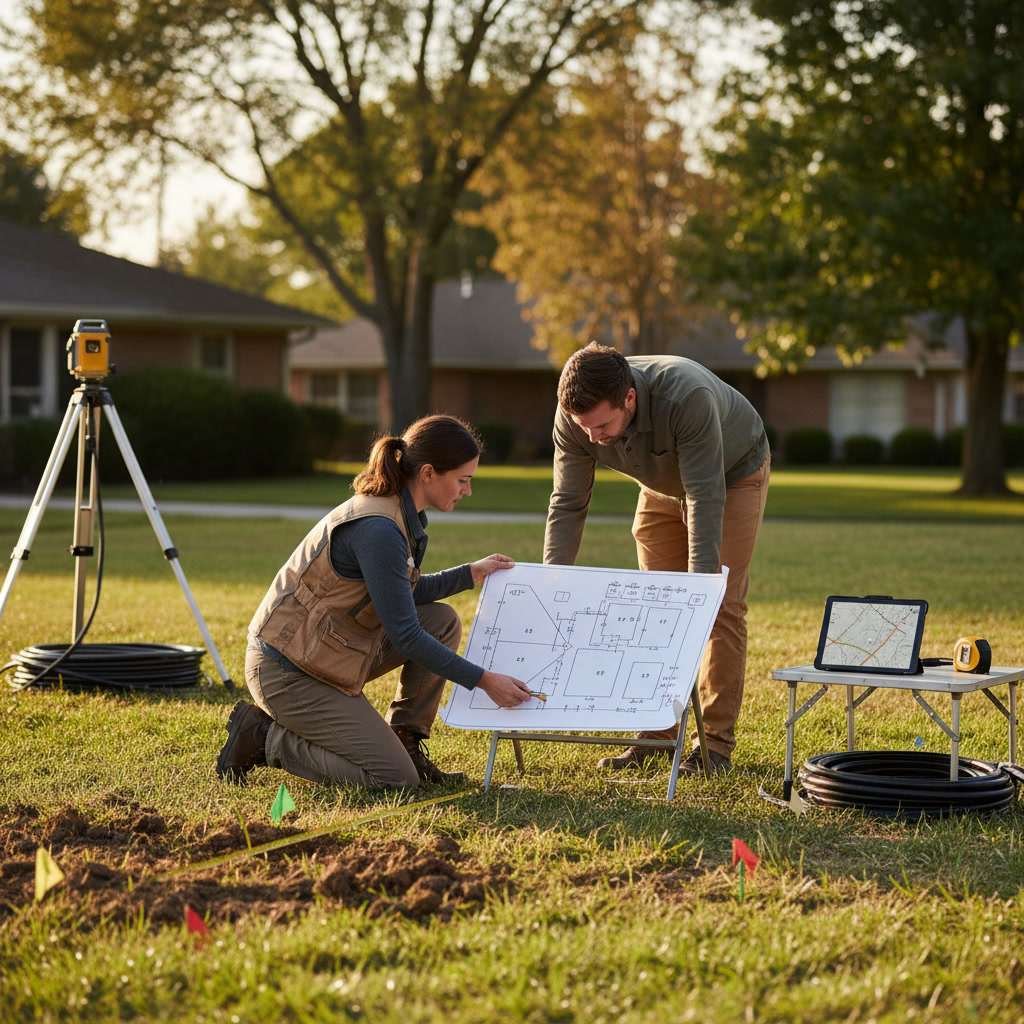
The demolition crew walks the entire property with your landscape designer to mark features for removal and preservation. This phase includes calling 811 to locate underground utilities, mapping existing irrigation zones, and photographing the current condition for insurance and documentation purposes. Crews flag trees, shrubs, boulders, or hardscape elements that will remain, creating a clear visual boundary for equipment operators.
Experienced contractors also test soil compaction and drainage patterns during this assessment. If your yard has poor drainage or heavily compacted soil, the demolition phase becomes an opportunity to address these foundation issues before installing new features. Skipping this evaluation often leads to costly corrections later when new turf or plantings fail due to underlying soil problems.
How Crews Protect Features You Want to Keep
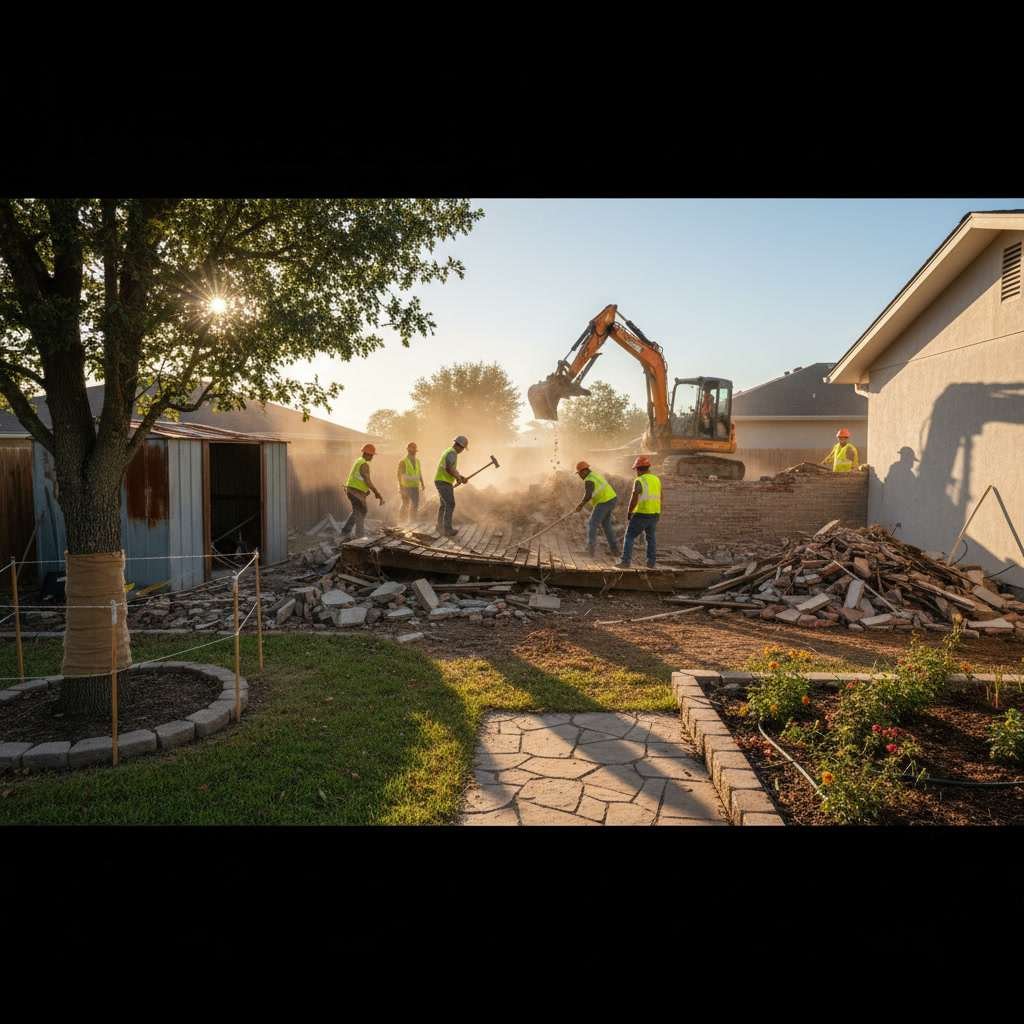
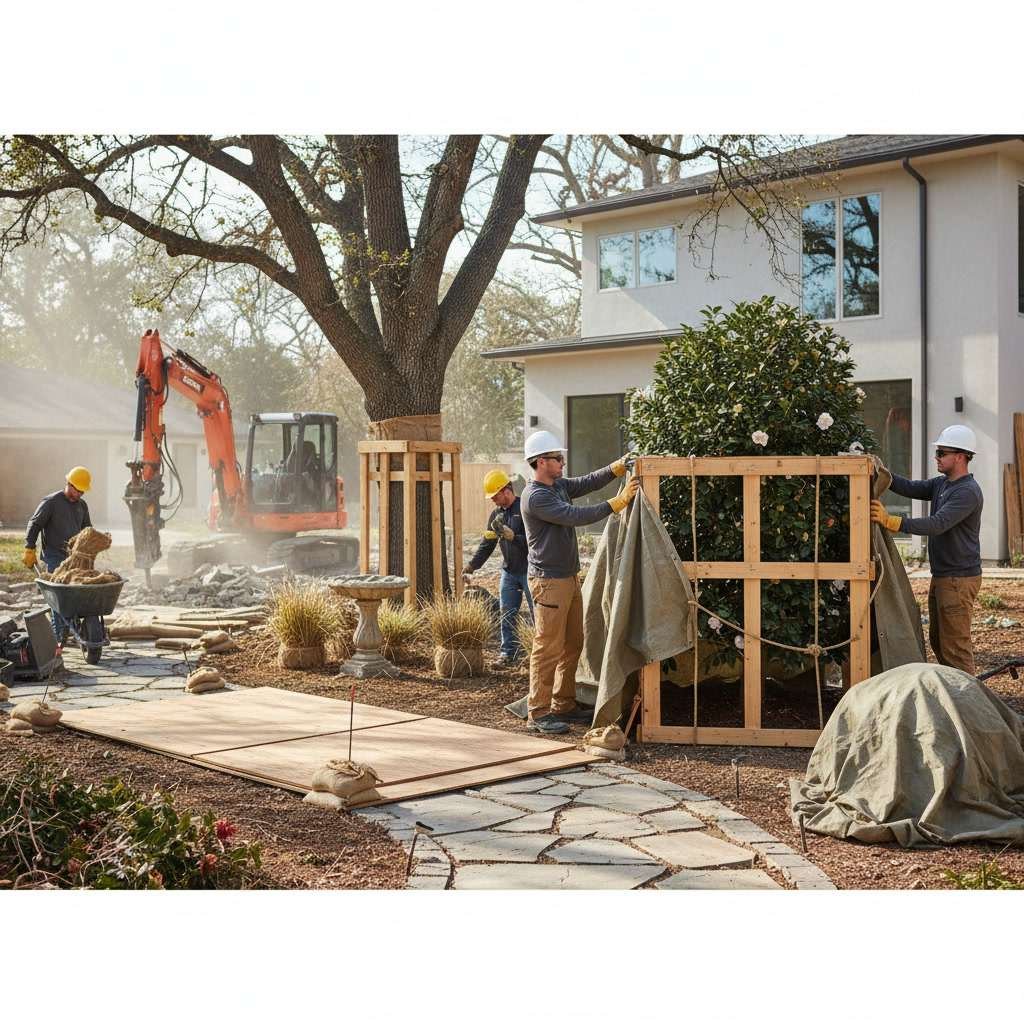
Trees and large shrubs scheduled for preservation receive protective fencing placed at the drip line, not against the trunk. This barrier keeps heavy equipment from compacting root zones, which can suffocate roots and kill the tree months after demolition ends. Crews also wrap trunks with foam padding or wood slats if machinery must operate nearby, preventing bark damage that invites disease and pest infestation.
Hardscape elements like natural stone retaining walls, flagstone paths, or decorative boulders are often worth preserving if structurally sound. Contractors carefully excavate around these features, shore up any unstable sections, and cover them with plywood or tarps to prevent scratches and chips during debris removal. Salvageable pavers and stone get cleaned, stacked, and stored on-site for potential reuse in the new design, reducing material costs and maintaining design continuity.
The Order of Demolition From Structures to Vegetation
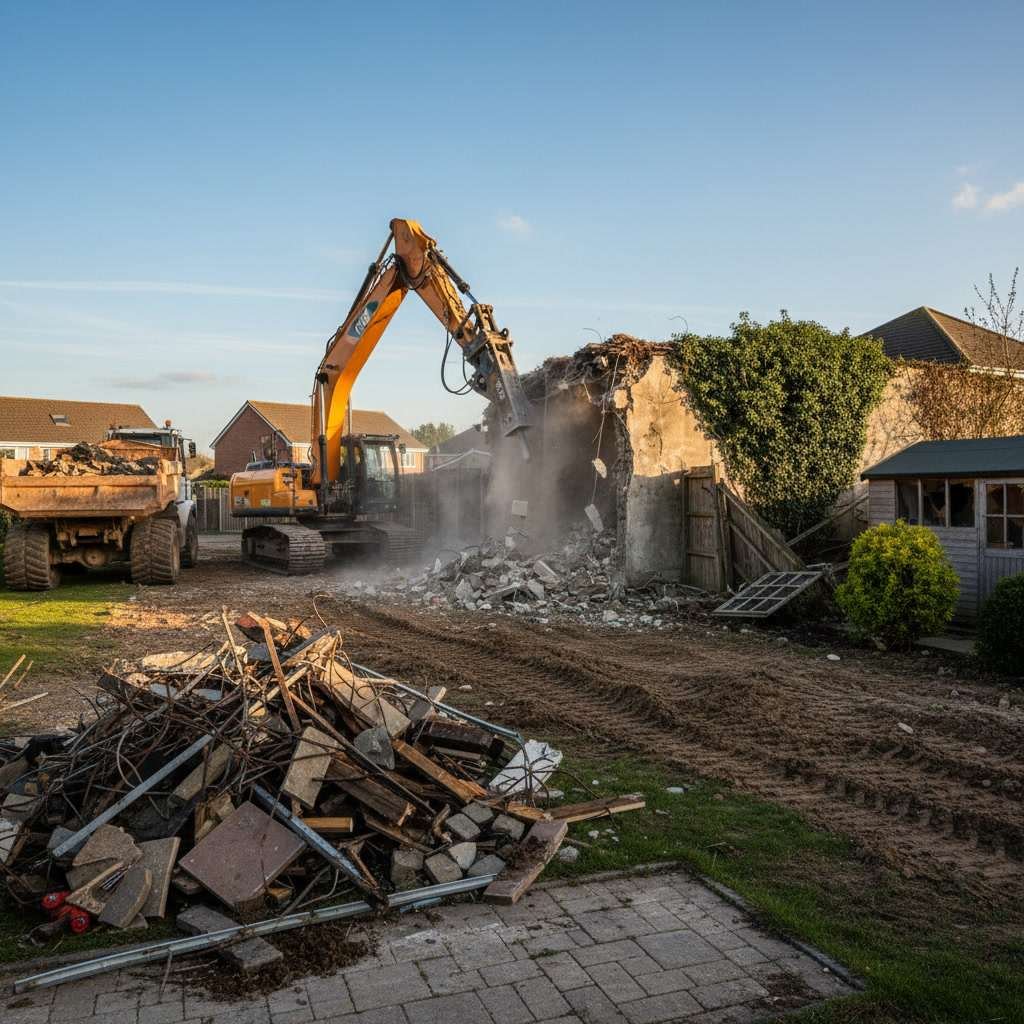
Demolition always starts with structures, working from largest to smallest. Sheds, pergolas, and old decks come down first, with materials sorted into salvage, recycling, and landfill piles. Metal fasteners, intact lumber, and reusable fixtures get set aside, while rotted wood and damaged materials go directly into the dumpster. This sorting process matters more than most homeowners realize because many municipalities charge disposal fees based on weight and material type.
Next, crews remove concrete patios, walkways, and edging using jackhammers or concrete saws. Broken concrete rarely goes to waste since crushed concrete makes excellent base material for new hardscape installations. If your full yard transformation includes new patio installation, your contractor might stockpile clean concrete pieces for use as fill or drainage aggregate, trimming hundreds of dollars from your material expenses.
After hard structures, vegetation removal follows a specific sequence. Dead or diseased plants come out first to prevent spreading pathogens to preserved specimens. Then crews remove unwanted shrubs, ornamental grasses, and groundcover, digging deep enough to extract root balls that would otherwise resprout. Sod removal happens last, either stripped by machine in rolls for potential reuse elsewhere or tilled under if the existing lawn is too degraded to salvage.
What Happens to Underground Irrigation Systems in Payson
Existing sprinkler systems present a unique demolition challenge because buried lines and valve boxes aren’t always where original installation maps indicate. Professional crews pressurize the system with air before demolition to locate active lines, then carefully excavate valve boxes and main lines that feed areas staying in the design. Sections serving demolished zones get capped at the nearest junction rather than removed entirely, preserving options for future expansion.
If your project includes a complete irrigation layout and design overhaul, crews typically abandon old lateral lines in place rather than excavating every inch. PVC buried 8 to 12 inches deep doesn’t interfere with new plantings or hardscape, and removal creates unnecessary soil disruption. The new system gets installed with updated zone mapping and valve locations, while old components are documented and capped to prevent confusion during future maintenance.
Equipment Used and How It Affects Your Property
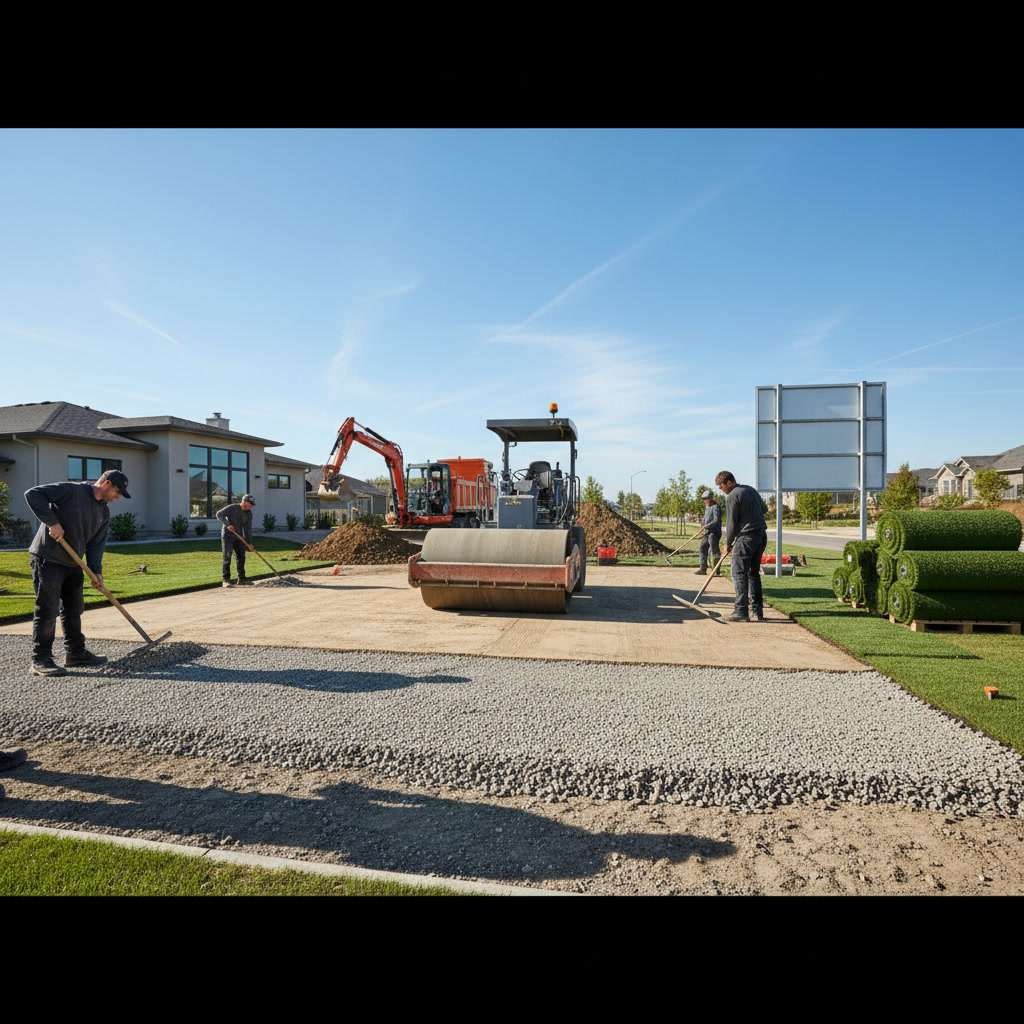
Most residential demolition requires a skid steer loader, mini excavator, and occasionally a small dump truck for debris removal. Skid steers handle sod stripping, grading, and material transport across the yard, while mini excavators dig out stumps, break up concrete, and excavate for new drainage features. Track-mounted equipment distributes weight better than wheeled machines, reducing turf damage in areas adjacent to the work zone.
Access width determines equipment size and project efficiency. Standard walk-through gates at 36 inches wide accommodate only walk-behind equipment and hand tools, extending demolition time significantly. Gates at 48 inches or wider allow mini excavators through, cutting demo time by half or more. If your property has limited access, contractors sometimes remove fence sections temporarily, restoring them after heavy equipment exits.
How Demolition Debris Gets Sorted and Disposed
Professional landscape contractors separate demolition waste into at least three categories: recyclable materials like metal and clean concrete, compostable green waste including sod and plant material, and landfill-bound trash such as treated lumber and mixed debris. This sorting happens on-site as demolition progresses, not after everything piles into a single dumpster.
Green waste often makes up the largest volume during residential landscaping demolition. Sod, shrubs, and small tree limbs get hauled to municipal composting facilities or commercial processors where they become mulch and soil amendments. Some contractors chip branches on-site and offer the mulch to homeowners for use in planting beds, turning waste into a free resource. Concrete and asphalt pieces go to crushing facilities that recycle them into road base and aggregate, diverting tons of material from landfills.
Dealing With Surprises Hidden Underground
Even with careful planning, demolition frequently uncovers unexpected conditions. Unmarked utility lines, forgotten septic systems, buried construction debris from original home construction, and uncharted drainage tiles all appear regularly once excavation begins. Experienced contractors build contingency time into schedules specifically for these discoveries, avoiding panic and rushed decisions when surprises surface.
Old tree stumps and root systems hidden under existing lawns cause particular delays. Roots from trees removed years ago often extend 20 to 30 feet from the original trunk location, creating obstacles for new hardscape and planting beds. Grinding these roots adds time and expense but prevents future settling and cracking in new concrete work. This is one reason why a detailed understanding of transformation phases helps set realistic expectations before work begins.
Site Grading and Drainage Prep During Demolition
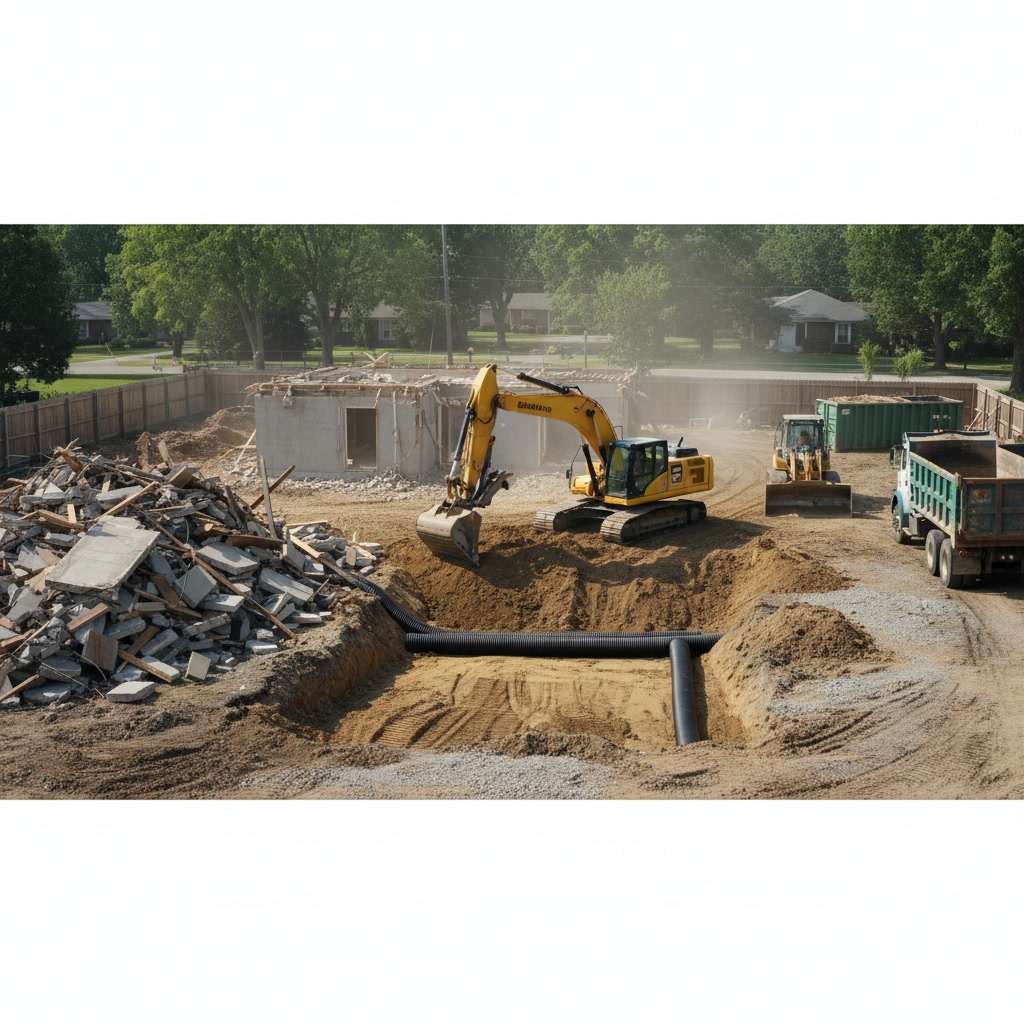
Once demolition clears the site, rough grading establishes drainage patterns and final elevations before any new construction. This step involves moving soil to create positive drainage away from your home’s foundation, filling low spots that collect water, and establishing level pads for patios and other hardscape features. Proper grading at this stage prevents standing water, foundation damage, and premature failure of new landscape installations.
Contractors also install or repair subsurface drainage during this phase if needed. French drains, catch basins, and drain lines get placed before final grading and compaction, ensuring they function correctly without interfering with irrigation or landscape features. Many homeowners don’t realize that addressing drainage during demolition costs a fraction of what it takes to retrofit drainage after new landscaping is complete.
Timeline Factors That Slow or Speed Demolition
Weather impacts demolition schedules more than most other phases. Rain turns exposed soil into mud that equipment can’t traverse without creating deep ruts and compaction damage. Frozen ground in winter makes excavation nearly impossible without specialized equipment. Spring and fall offer the most predictable working conditions, with dry soil and moderate temperatures that keep crews productive.
Permit requirements also affect timing, though most residential demolition work doesn’t require separate permits beyond what covers the overall project. However, tree removal often needs municipal approval if specimens exceed certain diameter thresholds. HOA restrictions may limit work hours, equipment noise, or even which trees can be removed, adding days or weeks to the schedule while approvals process.
What Gets Preserved and Reused in New Designs
Mature trees are the most valuable features to preserve during demolition. A healthy tree 15 years old or more contributes more to property value and landscape maturity than any feature you could install new. Protecting root zones, avoiding grade changes around trunks, and maintaining existing irrigation patterns around preserved trees requires careful coordination but pays dividends in shade, beauty, and curb appeal from day one.
Natural stone elements also warrant preservation efforts. River rock borders, flagstone paths, and stacked stone walls often outlast the landscapes around them. If stone is structurally sound and aesthetically compatible with your new design, incorporating it maintains character while reducing material costs. The same applies to quality pavers, decorative boulders, and even certain plant specimens that can be relocated rather than destroyed.
Starting Your Project With Confidence
Understanding the demolition process removes much of the uncertainty that surrounds major landscape projects. When you know what to expect during site clearing, which features deserve preservation efforts, and how contractors manage debris and drainage, you can participate in decisions that shape your final results. The demolition phase sets the foundation for everything that follows, from hardscape installation to planting and irrigation.
TG Landscaping has managed hundreds of demolition and site prep projects throughout Utah County, handling everything from small patio removals to complete property overhauls. Our crews bring the equipment, expertise, and attention to detail needed to clear your site efficiently while protecting features that add value to your new landscape. If you’re ready to move forward with your project or want to discuss what demolition would look like for your specific property, reach out at +13856265019 to schedule a site assessment and project consultation.